
Introduction — How to Burn an EPROM
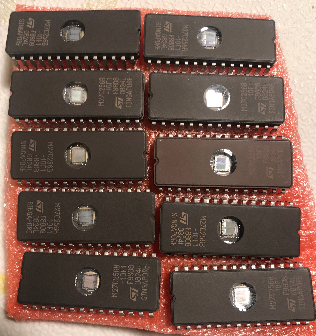
In this section, we’ll discuss How to Burn an EPROM. In this case, I have an ST27C256 EPROM. I will be placing the ELF2K firmware on this module for my COSMAC Membership card. I’m using the T48 EPROM Programmer, along with it’s own software. We’ll just walk through this procedure step by step.
Erase the EPROM
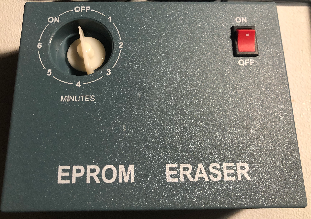
Before we begin, we need to start with a blank EPROM. There are several types of IC’s. This particular EPROM is UV Erasable. That is to say, I need to use a UV EPROM eraser to clear the data on the chip. Of course another option is to leave it in the sun a few months, but we don’t have that much time right now. You can also purchase PROMs, which are programmable one time. Another option is EEPROMs, which are electrically erasable.
Set up your Programmer
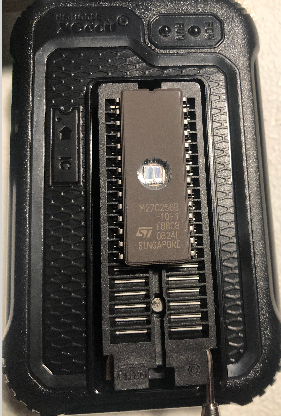
In this case, I have a through-hole, IC. This does not require any adapter to work in my programmer. If you use surface mount EPROMs, though, you may want to keep a set of adapters on hand. I’m using a T48 Programmer that I purchased through Amazon. It works out well for the EPROM’s that I program. I just had to find the English versions of the manual and programming software.
Obtain the New Firmware
Obviously, we will need something to burn onto the EPROM. This programming software supports HEX or BINary format. There are several pre-made versions of firmware readily available for vintage computers. You can even write your own firmware that contains your own programs. This is useful for programs you use often, and don’t want the hassle of loading them from paper tape, cassette, disk drive, or having to enter them manually through the front panel interface. I’ve downloaded the ELF2K firmware from Lee Hart’s web site.
Set Up Your Software
Be sure to place the blank EPROM into your programmer, and plug it into your computer. At this point, we are ready to launch our software. First, be sure to select the proper EPROM.
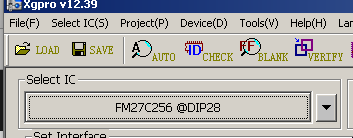
I had a slight problem with my selection. At first I chose the ST brand for the 27C256 because that is the label on my IC. However, when I tried to program the chip, I was getting an ID Mismatch. Thankfully, the software told me the ID of the chip. I simply googled the ID of the actual chip, and found out that it’s a Fairfield ID. I don’t know the reason for this but life goes on. I just chose the Fairfield version of the IC with the same catalog number. Be careful when making your selection. Your IC might be available in different form factors. In this case, I had the option to choose a surface mount, or DIP.
Next, we are ready to open the file you downloaded.

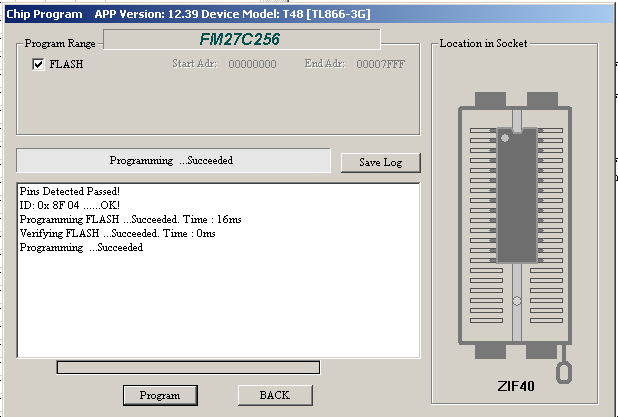
Click OK, then we are ready to program the EPROM!
You should get a message that your EPROM burn is successful!
Since this firmware will reside at 8000h, I will need to change the jumpers on the ELF, so the RAM is at 0000H, and the ROM is at 8000h.
Summary of How to Burn an EPROM
In summary, we just need to start with a blank IC. After that, obtain the firmware that you wish to program into the EPROM. Next, launch your software, and choose the appropriate IC. Open the file that you wish to flash, then click the “Program” button. You should get a message that your burn is a success. It’s probably a good idea to print a label indicating the purpose of this firmware. That is both good for documentation purposes, and to prevent your EPROM from being accidentally erased by the sun.
For other information on Industrial Automation, Home Automation, and Vintage Computers, visit the main site!
— Ricky Bryce