
Introduction to PlantPAx 4 Analog Outputs
With PlantPAx 4 Analog Outputs, you will scale analog information back to raw data to send to an Analog Output module. For example, we have a valve which requires 4-20ma, however the operator interface is set up for percentage. In this case, we might scale 0 – 100 percent to 4000 – 20000 raw data before sending the value to the analog output channel. Keep in mind, this is just an example, and your actual application may be different.
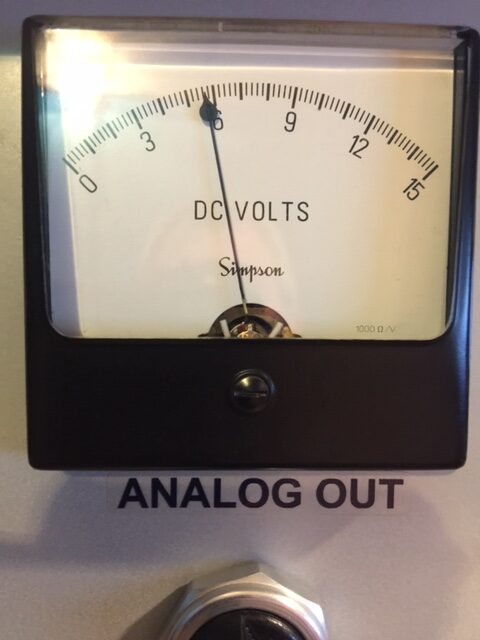
To demonstrate, I’ll use an example of an voltage output channel which requires 0 to 32767 raw data. This raw data will send 0 to 10 volts to the field device.
Import the Instruction
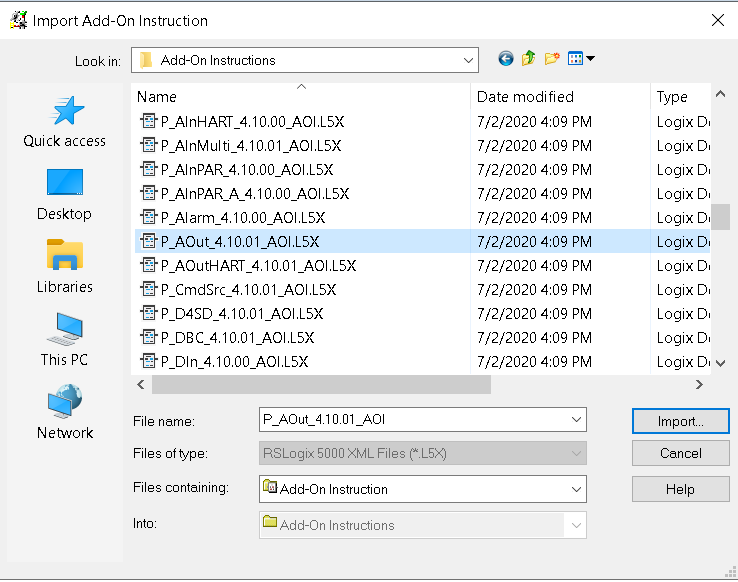
To begin, we need be offline to import the P_AOut instruction to our Studio 5000 project. Right-click “Add On Instructions”, and choose “Import Add On Instruction”

Choose the P_AOut instruction. We’ll assume that you have already imported the other objects needed to start a basic project.
Write the Logic
As soon we have imported the instruction, we are ready to add the instruction to our logic. Be sure we add this to a function block routine that will be executed by the processor.
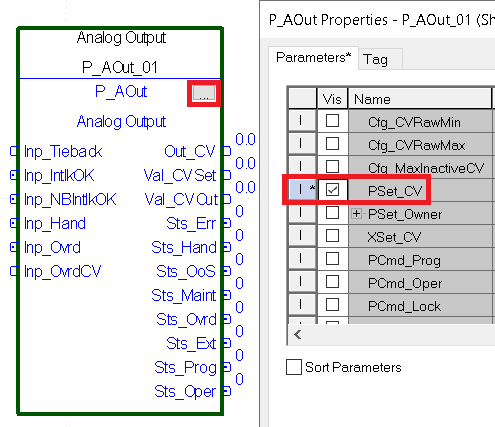
To demonstrate, we’ll add the following logic to a function block routine. After you have added the logic, click the ellipsis to configure the block. We will make PSet_CV visible. This allows the program to control the output of the instruction. The units of PSet_CV are in EU.
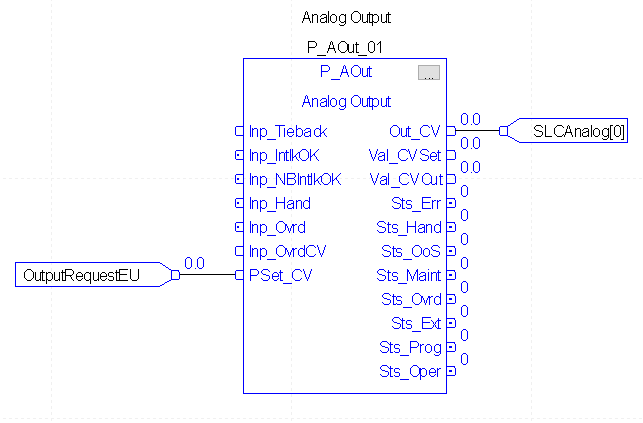
After this, we will add the other logic. If you need to use Interlocks, be sure to visit the page that explains them. To clarify, OutputRequestEU is the scaled value the program is requesting (to be scaled 0 to 100). SLCAnalog[0] is the real world output channel of the analog module (to be scaled 0 to 32767).
At this time, download your work, and take the processor to run mode.
Add the Faceplates
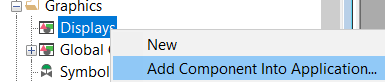
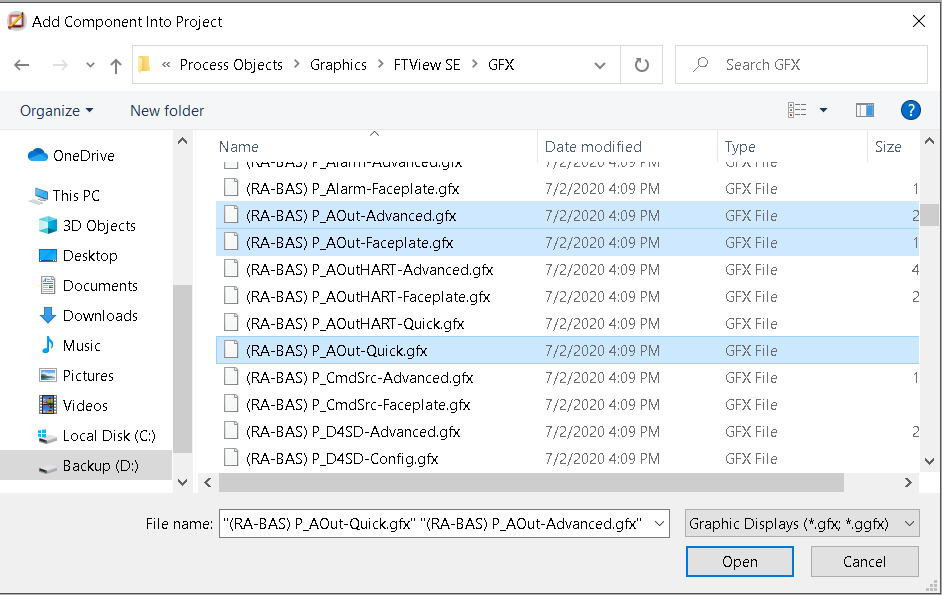
Now that you have the logic, you are ready to add the faceplates. Right click “Displays” under “Graphics”, and “Add Component into Application”.
Be sure to hold down CTRL, and select the following GFX files:
Create your Display
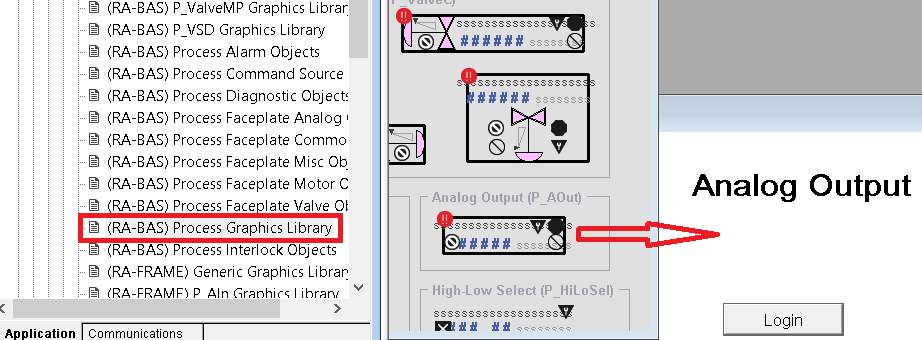
Create a new display (or use an existing display). At this point, you are ready to drag the global Analog Output object onto your display. Under “Global Objects”, open the Process Graphics Library. Then, you are ready to drag the P_AOut object onto your display.
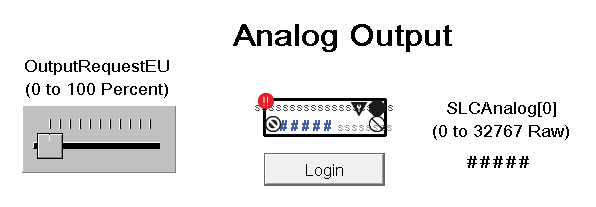
We’ll add a couple other objects. The horizontal slider object will simulate a request from the program, and will write to OutputRequestEU. Also, just to verify the output of the instruction, we’ll add a numeric display that looks at SLCAnalog[0]. This is the raw value we send to the output module. Also, be sure that you have provided a way to log into PlatPAx.
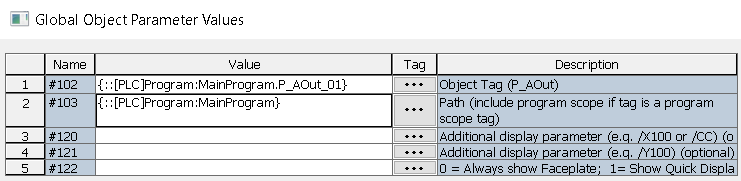
Next, right click the P_AOut object and “Set Global Object Parameters”. Select the tag for the instruction in Studio 5000 as parameter #102. Parameter #103 will be the folder that contains the tag (assuming any Interlocks, etc would be at this same path).
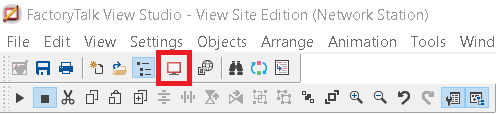
At this time, you are ready to launch the client. Close and save your display. When launching the client, just to test your work, we’ll set the current display as the initial display.
Configure the PlantPAx 4 Analog Outputs
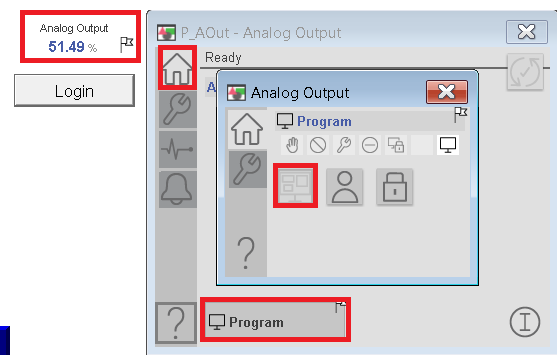
Once the project is running, you are ready to configure the instruction using the faceplates.
Be sure to login, and click the P_Aout object on your display. On the Home screen, we’ll give the program control of the output.
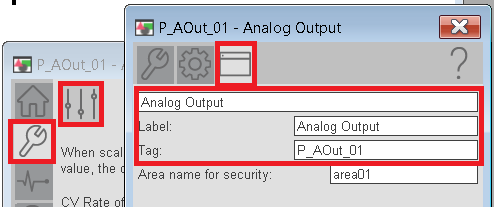
From the Maintenance tab, display advanced properties. Then on the HMI Configuration tab, set up your description, label, and tag. If you are using Interlocks, you will see a checkbox to enable navigation to the Interlock object as well.
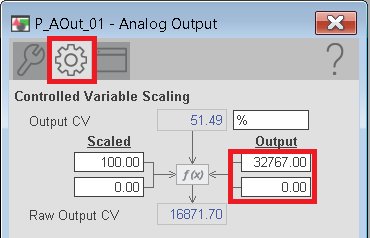
Then on the Engineering tab, set up your scaling for the output instruction.
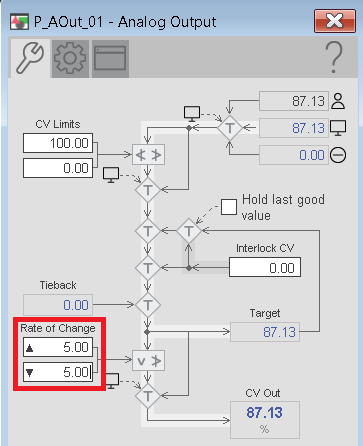
On the Maintenance tab, you might want to adjust your rate of change.
Test Your Work
At this point, your instruction should be working. Slide the horizontal slider object to see the CV change to the values we scaled them to. You will notice the raw output does not change more than 5 EU’s per second, or in this case, 5%.
For more information, visit the PlantPAx category page.
— Ricky Bryce