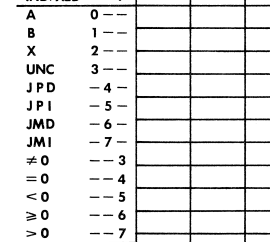
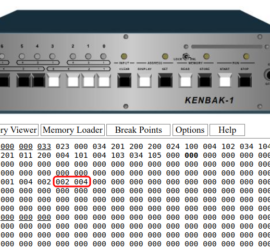
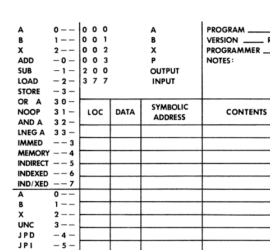
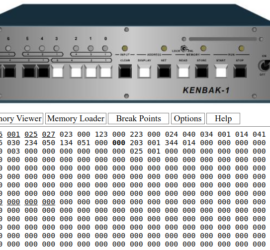
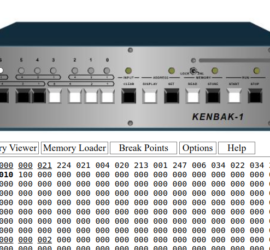
Kenbak-1 Front Panel Interface
Introduction to the Kenbak-1 Front Panel Interface The Kenbak-1 Front Panel Interface allows us to input and view data to and from memory locations in the Kenbak-1 In this section, we’ll cover each of the front panel buttons as well as the indicator lights. In this post, I’ll cover the Read More »