
Introduction to the PlantPAx 4 Digital Output Instruction
We use the PlantPAx 4 Digital Output instruction (P_DOut) to control outputs. The P_Dout instruction has several advantages over a standard output. To begin with, the P_Dout instruction allows you to add a standard object to an HMI display for the operator. Secondly, you have other options with the P_Dout instruction such as fault detection, interlocks, and permissives.
Import the Add-On Instruction
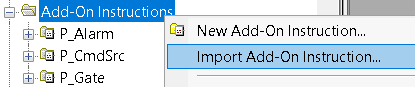
Let’s start by adding the Add-On instruction to our Studio 500 project. At this time, we’ll right-click “Add-On Instructions”, and “Import Add-On Instruction”.
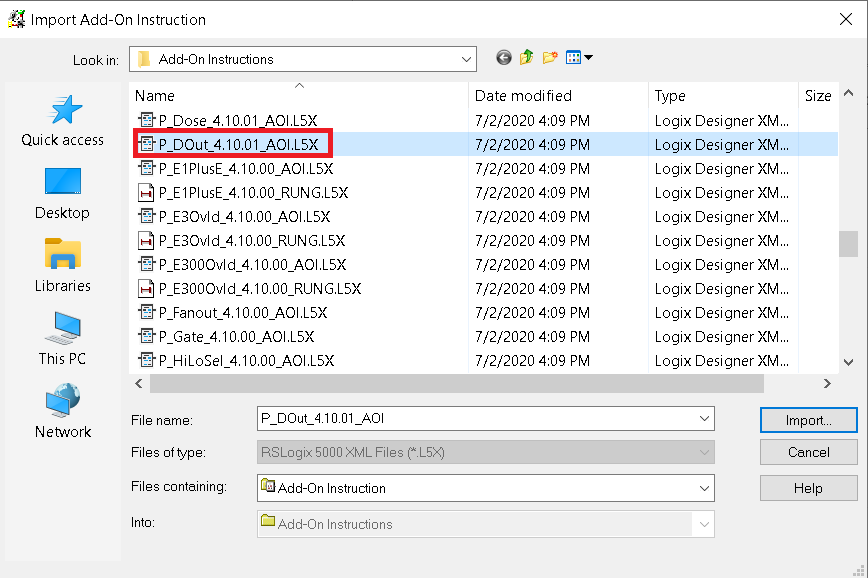
Be sure to choose the P_Dout Add-On instruction is your process objects folder. Once the instruction is imported, I’ll leave the settings at default values.
Add the Logic
Be sure you have a function block routines in your Studio 5000 project. Equally important, be sure that you are jumping to this routine from the MainRoutine. The PlantPAx 4 Digital Output instruction is in the Add-On folder. Drag the P_Dout instruction into your Function block editor.
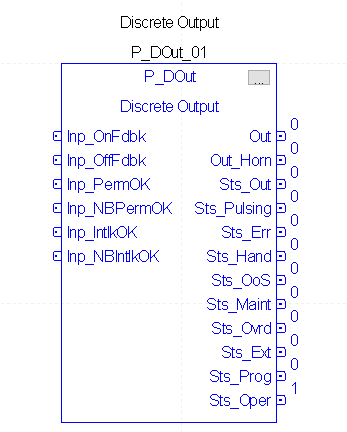
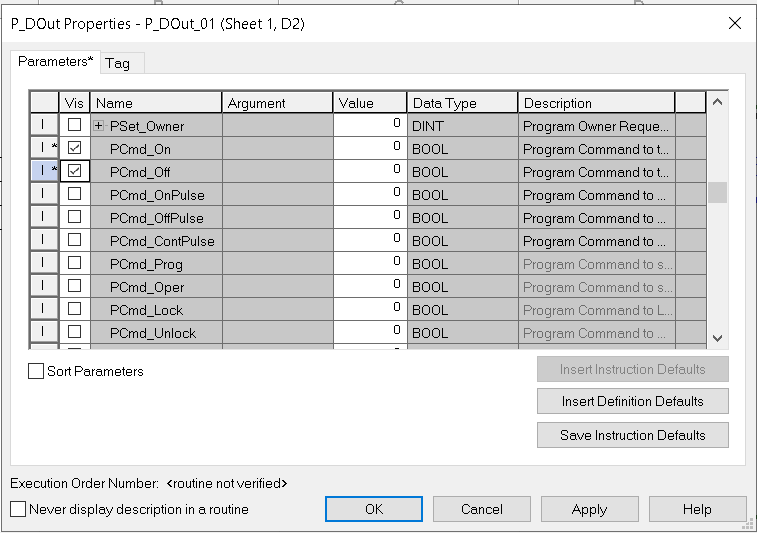
In this situation, notice that we don’t have any inputs to directly send a command to the output. Click the Ellipsis in the upper right corner of the instruction. Check the PCmd_On and PCmd_Off visibility boxes. Press “Apply” then “OK”.
Set up the rest of your logic as follows:
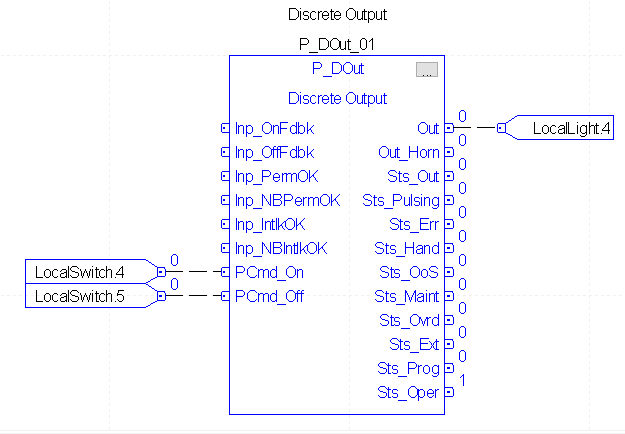
As can be seen, there are a lot of options for the P_Dout instruction. The instruction can monitor feedback from a device such as a motor starter. For example: This ensures that the auxiliary contacts on the motor starter actually did engage. The permissives would be other prerequisite conditions which have to be met before the output will energize. If you use an interlock, this can shut off our output under certain conditions. We can use the output command to pulse a device, and another option is for the operator to take operator control of the device to energize it manually. Even so, we’ll just keep things very simple for this example. When LocalSwitch.4 is energized, we want our output to energize. LocalSwitch.5 will shut off this output.
Download your work, and place the processor into remote run mode.
Add the P_Dout Faceplates
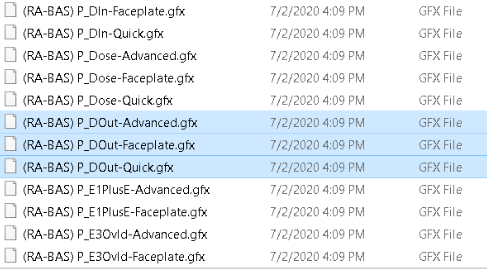
In order to use the P_Dout object on the HMI, we’ll need to import the faceplates required for the instruction to work properly. Right click “Displays”, and choose “Import Component into Application. These are in the GFX folder of your process objects. We need P_Dout-Advanced, P_Dout-Faceplate, and P_Dout-Quick.
Add the P_Dout HMI object
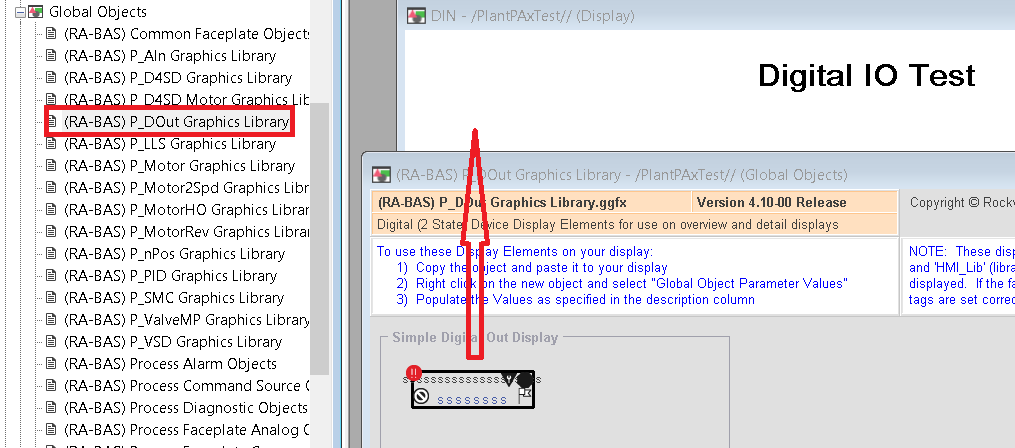
At this time, open the P_Dout Graphics library, and drag it’s global object onto your display.
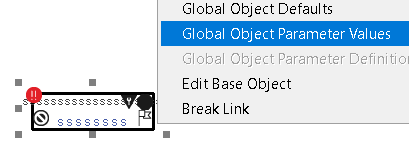
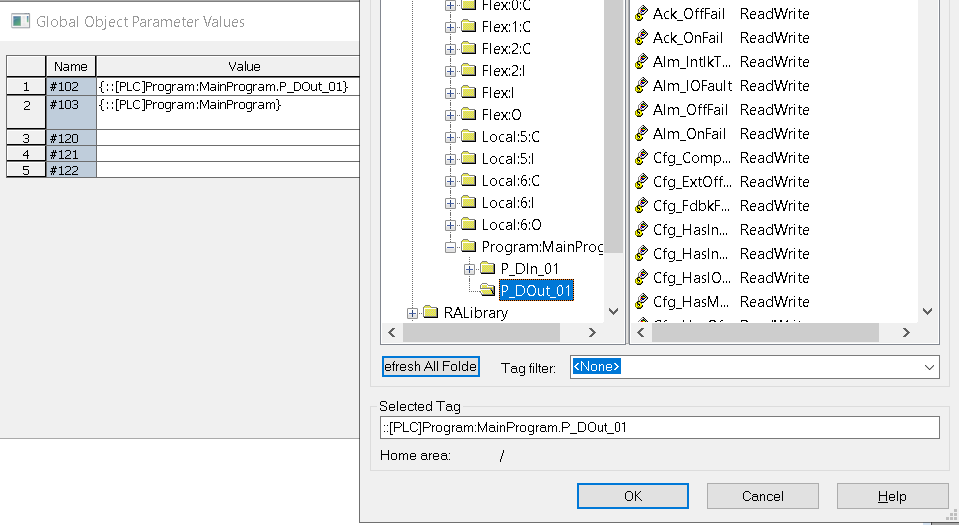
Right-click the object on your display, and adjust the Global Object Parameter Values.
In this case, the tag for the P_Dout instruction is a program tag. It is located under the MainProgram. Be sure to refresh your folders, and choose the tag for your P_Dout instruction. Also set Parameter #103, which is the tags path. This will be the folder level above the tag. As I have said, the P_Dout could have permissives and interlocks. For this reason, the path is used to locate permissive and interlock tags in logic if used on this device.
Press OK (then OK again). Prior to launching the SE client, be sure you have a login button, and a way to navigate to the display that the P_Dout instruction is on once the project is running.

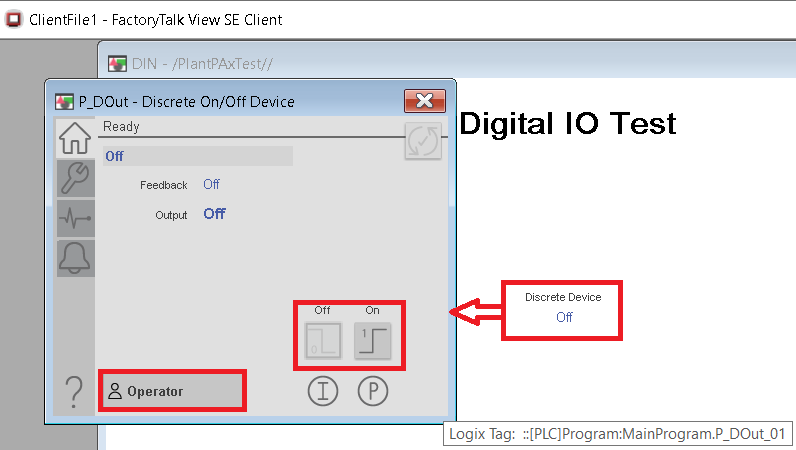
Navigate PlantPAx 4 Digital Output Faceplates
Be sure you are logged in, the double click the P_Dout object on your display screen. Important to realize that you are currently in “Operator” mode. For this reason, you can manually energize or de-energize the output. In this case, it’s a simple indicator light, but if this device is a prime mover, be sure you take all safety precautions. If we had Interlocks and Permissives, we would be able to look at those conditions by clicking the “I” and “P” icons under the control buttons.
Switch to program mode. This will give the logic control of the output. Turn on LocalSwitch.4. This should energize LocalLight.4. LocalSwitch.5 will shut off this output. Explore the other objects on this facepate, such as maintenance mode, and engineering mode. This will give you an understanding of what troubleshooting information and tools are available from the faceplates.

For more information on PlantPAx, visit the PlantPAx category page.
— Ricky Bryce