
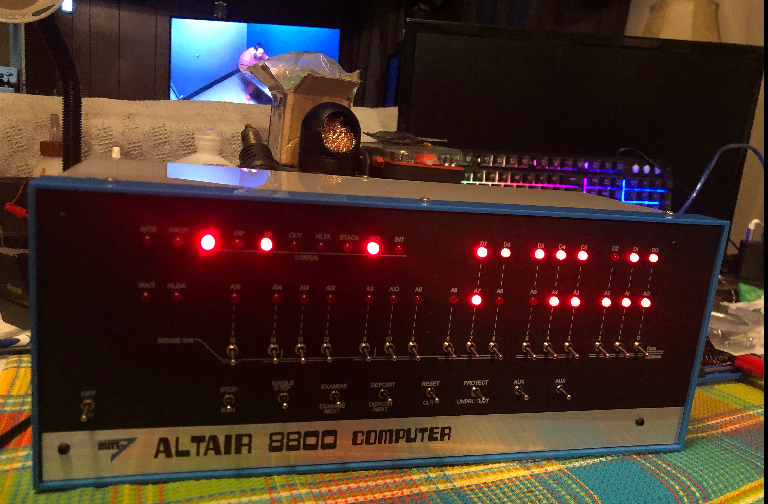
Introduction to Altairduino Short Cuts
In this section, I’ll list the Altairduino Short Cuts. This includes ways to quickly access configuration menus. Additionally, I’ll list the commands to display the ROM and Disks images. Since you will probably not be using real disks on the Altar-duino, multiple disk images are on an SD card. If you purchased the kit from AdWaterAndStir, then you likely have these images on your system.
Configuring the VT100 Emulator
The pro kit comes with a VT100 terminal emulator. There is some configuration on this module such as baud rate, composite type, etc. To access this configuration menu press Shift-F12 on your keyboard. You can even configure whether or not to load the boot text.
Loading Different Boot Configurations
The Altairduino stores multiple configurations. Obviously we can choose which of these configurations to boot to. For example, we might choose to boot to the VT100 Terminal, which by default is configuration 1. Another option is to boot to the RS232 port. This might be the 9-pin D-Shell connector. This is located on the I/O expansion module. Thirdly, you may have added an ESP-01 module. This is for wireless communication. To load configuration #1, for example, turn on switch 0. In binary, this is #1. Hold up the “Deposit” switch as you power on the machine.
Changing the Boot Configurations
Obviously, you can modify the boot configurations. You can customize the machine for your needs. To access the configuration menu, simply hold up STOP while you press AUX 1 Up. Each configuration can be set up for which processor type and communication port to use. Be sure to save your work if you wish to permanently change the configuration. Additionally, you can mount hard drives and floppy drives from this configuration. Other options include disk management and transferring files.
Displaying the ROM Images
Generally, the Altairduino has ROM images that are built in. These include some simple games such as “Kill the Bit” and “Pong”. You also have boot loaders in ROM, and a music program called “Daisy”. Use an AM Radio with the processor throttle set to 5 in configuration to hear this song. The AM radio needs to be on a quit station and close to the data lights. To display the ROM images, simply stop, and reset your machine.With all switches down, press AUX1 down.
Displaying Floppy Drive Images
Your SD Card has several floppy drive images on it. The listing is in a text file on the SD module (DSKDIR.TXT). To show this listing, be sure all switches are off, except for #12. With Switch 12 on, press AUX2 down. If you add a disk image later on, you will need to change DSKDIR.TXT to reflect the contents of that disk.
Displaying Hard Drive Images
Basically, this procedure is similar to listing the Floppy Drive Images. Shut all switches off except for 12 and 13. With Switches 12 and 13 on, press AUX2 Down. Obviously, this will show the contents of HDSKDIR.TXT. Keep in mind that if you add another hard disk, you will need to update this file.
Use this site to download additional hard drive images. There are 3 more under “Extras”. The Extras folder contains an updated HDSKDIR.TXT, so you do not have to update that manually. That is, if you haven’t already modified that file in some way from default. The three extra disks include other flavors of BASIC, COBOL, and DBASE II.
Mounting a Drive Image
To mount a drive, simply set up the last significant digits to reflect the drive number. If you are mounting a floppy drive, turn on switch 12 as well. On the other hand, if it’s a hard drive image, turn on switches 12 and 13. Press AUX 2 Down. A message should display on your console that the system has mounted the first drive.
You can mount multiple drives. To do this, simply change the least significant bits to reflect the second drive you wish to mount. Turn on switch 8 to indicate you want to mount this image as a different drive. Again, switches 12, 13, and 14 reflect the type of drive. Keep in mind that out of the most significant bits, switch 12 only is a floppy drive. 12 and 13 are the Hard drive images. Once your switches are set up, press AUX2 Down again.
Booting the System
Let’s say we want to boot to a hard drive that is mounted to the system. Keep in mind that our bootloader is in ROM. Obviously to list this again, press AUX1 Down. To boot to the hard drive, all switches are off, except for 3, 2, and 1. At this point press Aux 1 Down. For the Floppy drive boot loader, switch 4 only is on. With all other switches off, again, press AUX 1 Down.
Booting from ROM
Generally, booting from ROM is very easy. Simply stop and reset your machine. At this point, press AUX 1 down to list the ROM programs. Be sure all switches are off except for the switches that represent the ROM program you want to run. Enter this bit pattern into the least significant switches. In other words, the right most switches. Press AUX 1 down, and your program will boot.
Shortcut Button
By default, you can run a program simply by pressing AUX 2 up. This defaults to “16k BASIC”. After that, you can press AUX 2 Down with all other switches off. This will show you a list of BASIC programs. To run a program, type NEW (then enter). Key in the bit patter next to the program you wish to run. Next, press AUX 2 Down. At this point the program will load into memory. Type RUN when finished.
Summary
In Short, I’m compiling this list as a way for me to remember the commands if I’ve been away from the system for a while. If you know of other shortcuts, please let me know, and I’ll add them to this list. I appreciate any other comments or suggestions for clarifications or corrections.
In the meantime, you can check out my Altairduino Build here!
— Ricky Bryce