
Introduction to FactoryTalk View SE Navigation
FactoryTalk View SE Navigation is slightly different than the navigation in FactoryTalk View ME. FactoryTalk View ME will typically use a “Goto Display” button. By Comparison, FactoryTalk View SE will use the display command within a standard command button. By using the standard display button, you will have additional options for the navigation button, such as docking, and window position. In this case, we’ll show individual display buttons on a display, but in many projects you will have a “Navigation Bar” in your project with all of the display buttons. This navigation bar might be docked at the bottom of top of the project to allow the operator to navigate to any screen at any time.
Create the Displays
To begin with, we’ll create two displays within the FactoryTalk View SE project. If you have not already done so, look at the document on beginning a FactoryTalk View SE Project. This walks you through the procedure to get to the point where you can add displays.
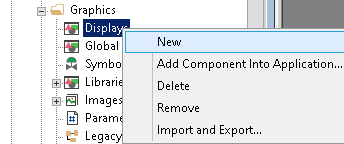
To create the displays, right-click “Displays” under “Graphics”.
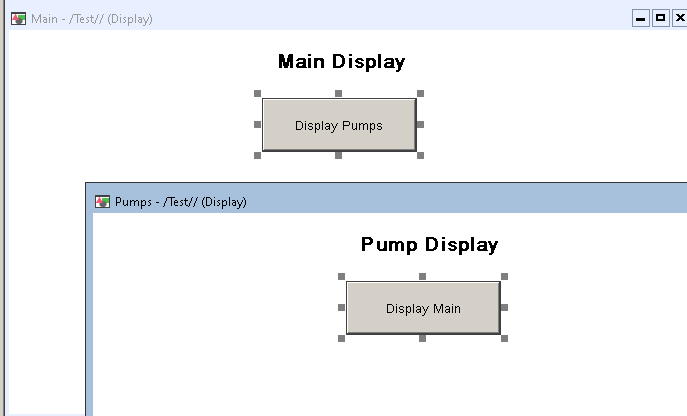
Create two displays. In this case, I’m going to put a text object at the top of each display. One display will be labeled “Main Display”. Likewise, the second is labeled “Pump Display”.
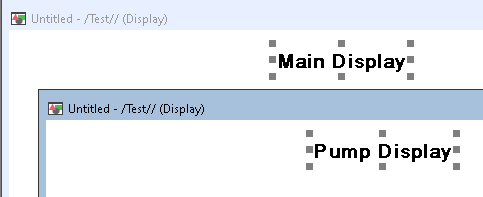
As you can see, both displays are “Untitled”. Close the pump display, and name it “Pumps”. In the same manner, close the main display, and name it “Main”.
Add the Navigation Buttons
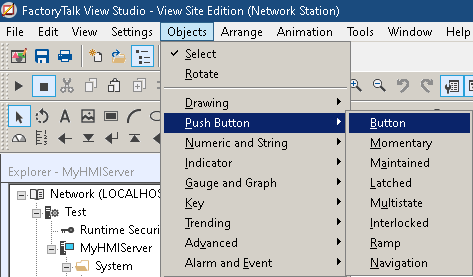
At this time, we’ll add the navigation button onto the Main Display. This allows the operator to access the “Pumps Display”. With this in mind, open the “Main Display”, and go to “Objects” on the menu bar. Under PushButtons, choose “Button”.
Now that you have the pushbutton object, click and drag on the main display to draw the button on to the main screen.
The properties dialog window will appear. Click the Ellipsis as shown, and the command window will appear. Click “Display”, then “Next”.

At this point, choose the display that you want this button to open. Notice there are many other “Flags” or options. We won’t choose any options at this time, but to explore the purpose of these options, click “Help”.
After choosing “Pumps” as our display, click “Finish”.
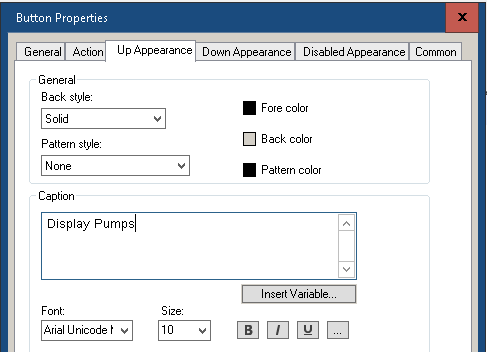
Next, go to the “Up Appearance” tab. In the previous step, we configured FactoryTalk view to open the pumps display when this button is pressed. Now, we will put a “Label” on the button to display for the operator. Configure the Up Appearance as shown.
Finally go through the same procedure on the pumps display, so the operator has a way to navigate back to the main display. When finished, your displays will look similar to the image below.
Remember to close and save your displays. You are now ready to test your navigation!
Navigation Bar
For larger projects, a navigation bar is usually more effective for navigation. You might use this navigation bar instead of having navigation buttons on each display. The navigation bar is then “docked” to one of the edges of the screen during runtime.
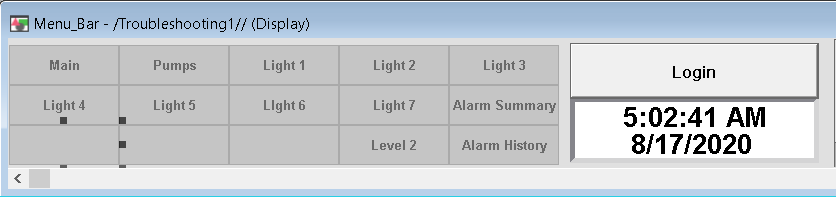
Basically, to create a navigation bar, create a display similar to the one shown. This will have many display buttons.
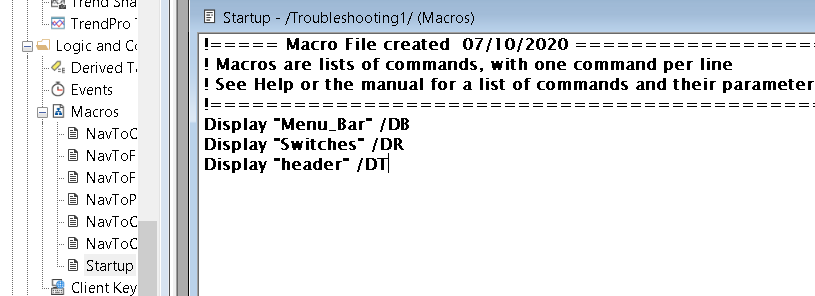
Next, you would create a startup macro that places this display on the screen at run time. To create a macro, right click “Macros” to create a new macro. your startup macro will look similar to the one shown. Notice the flags after the display commands. The /DB flag will dock that display to the bottom of the screen. Likewise, /DR docks the display to the right. We will dock a third display “header” to the top of the screen with the /DT flag. When you create the client, simply declare “startup” as the startup macro.
For more information on FactoryTalk View SE, visit the category page.
— Ricky Bryce