
Introduction to Downloading to a Panvliew Plus terminal
Once a project is created and tested, the next step is to downloading to the Panelview Plus terminal unless you wish to run the application on your desktop. If you are unfamiliar with how to start a project, read up on how to Create the FactoryTalk Project.
Before we download, you must first identify the revision of the Panelview Plus. Generally, we can get this revision from the configuration screen. If you do not have a “Shutdown” or “Configuration Mode” button, press the square in the lower left corner as the terminal boots up.
In the Configuration screen, go to Terminal Settings | System Information | About FractoryTalk View ME Station. Be sure to write down the Revision.
We will also need the IP address. To get the IP address, go to Terminal Settings, | Networks and Communications | Network Connections | Adapter Adapters, and press F2 to get (or set) the IP address. In our case, the IP address is 192.168.0.123
Initial Considerations
Before you start, be sure to write down the revision of your panelview plus terminal. You will find this on the configuration screen of the panelview plus terminal.
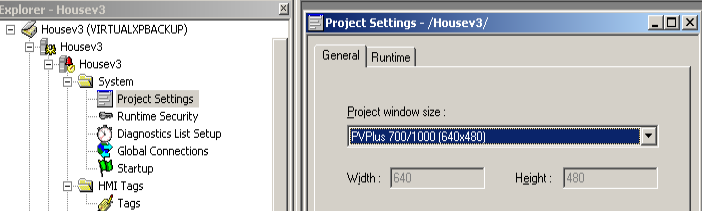
Because we must have the correct resolution in FactoryTalk View ME, go to “Project Settings”. Be sure the proper panelview model is selected.
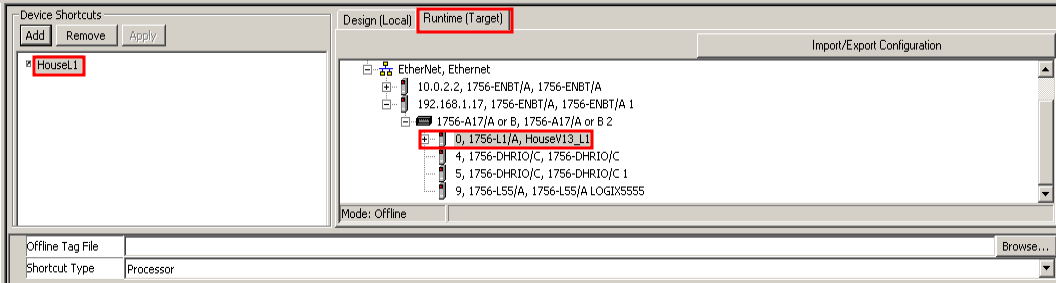
At this point, go to FactoryTalk View Enterprise (for communication), be sure the “Runtime” path has been configured. This is the communication path the Panelview will use to access your processor at runtime. If the path to your processor from your PC is the same as the path to the processor from the panelview, you can just “Copy from design to Runtime”
Build the Runtime File
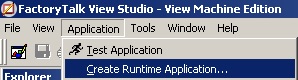
Go to Application | Create Runtime Application.
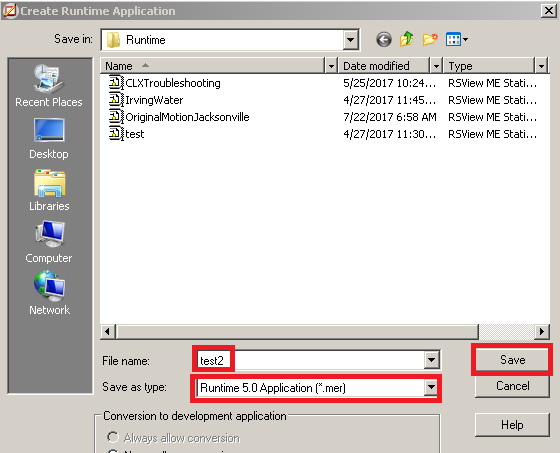
Next, we must name the runtime. We will leave this at default, and let it assume the name of our studio application. It’s very important to select the correct revision!!! Then click “Save”
You will see a progress bar as your runtime is being created. Be patient with this.
Open the Transfer Utility
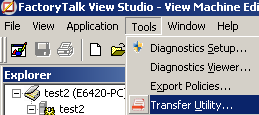
After the runtime is created, we will transfer the application to the terminal. Select Tools | Transfer Utility.
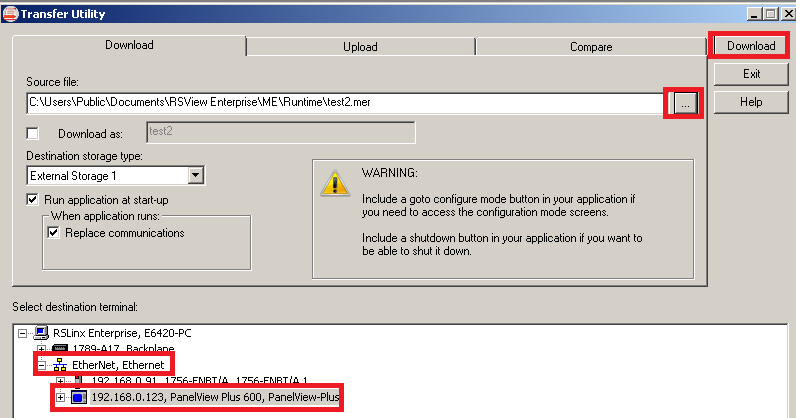
Be sure to press the Ellipsis (…) and select the runtime that you just created. At last, browse for your panelview terminal, then click “Download”.
Troubleshooting Tips:
If you don’t see your panelview while browsing, there are a couple things to check. Be sure you are in the same subnet as the panelview plus terminal. Usually, this means that the first three octets of your computer should match the panelview plus (ie. 192.168.1.x).
You can find the IP address of your computer by going to the windows command prompt. Type “ipconfig”. If you are in a different subnet than the panelview, you can go to “Control Panel” in Windows to change your IP address. Just be sure it doesn’t conflict with another IP address on the subnet you change it to. Also, if you prefer to keep the original IP address, you can simply go to “Advanced” under ipv4 properties. You can ad an additional IP that is in the proper subnet.
If you type “ipconfig” at the command prompt, and your subnet mask is 255.255.255.0, then the first three octets must match. As I said before, this is usually the case. However, if your subnet mask is 255.255.0.0, only the first two octets must match. On the other hand, if it’s 255.0.0.0 then only the first octet has to match the panelview terminal. If it’s anything other than 255, or 0, then it’s easiest to break everything down to binary to see how it works. Check out this post.
Obvioulsy, double check your connection to be sure you are plugged into the same network as the Panelview.
You can try to “Ping” your panelview from the command prompt to verify connectivity. (ie: ping 192.168.0.23).
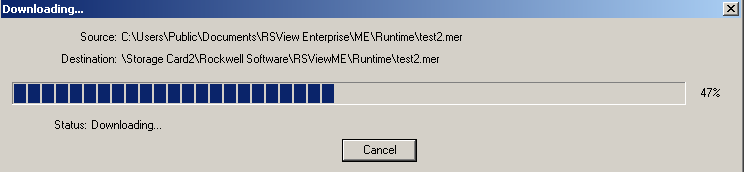
Downloading to the Panelview Terminal
After you click “Download”, you will see a progress bar.
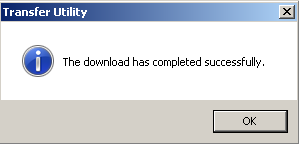
When you are finished downloading, you will receive a message that your transfer has completed successfully.
After you are finished, please be very patient. It takes a while for the Panelview terminal to boot up after a download. If you get an error that states the firmware revision is incorrect, double check the firmware of the terminal, and create a new runtime.
— Ricky Bryce