
Introduction to FactoryTalk View Local Messages
FactoryTalk View Local Messages appear only on the display they reside on. These are different from Information Messages. Information messages is a service that runs in the background. They will pop up regardless of which display the operator is looking at (similar to alarms).
Local messages might reflect the status of a single part of your equipment. These messages would only pertain to the part of the equipment on the display the operator has open.
The local message object simply looks at a tag in the processor. We configure different messages based on the value of this tag.
Create A Tag
At first, we’ll want to create a tag in the processor. This will be one of the tags that a Local Message object points to. The value of this tag will represent a specific message for the operator. In Studio 5000, I’m just going to create this as a local tag. We’ll call this “PumpMessages”, and just leave it as a DINT data type.

Be sure to press “Enter” to accept the tag.
Communication
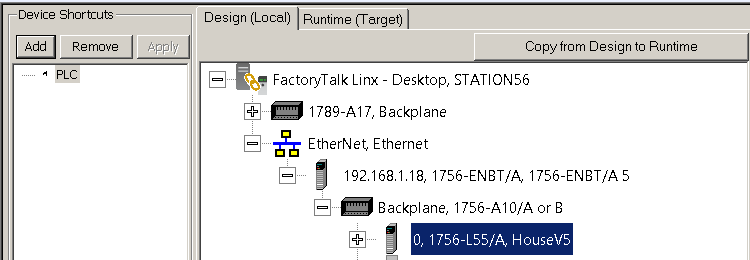
Before we begin, I always like to double check the communication configuration. You need to make sure we have a shortcut set up to your processor. When you create a project for simple testing, this is easy to forget. Go to FactoryTalk Linx, then “Communication Setup”. If you have an older version of FactoryTalk View, this is probably called “RSLinx Enterprise”.
Be sure your shortcut points to your processor. If you need to create a new shortcut, simply click “Add”. Be sure to select both the name of your shortcut, and your processor at the same time. After that, click “Apply”. If you forget the “Apply” button, your changes will not save.
Eventually, you may download this project to a Panelview. Another option is to run the application on FactoryTalk View ME Station. If the path to the processor from the target device is the same as the path from your own computer, then you might want to “Copy From Design to Runtime”.
Configure Local Messages
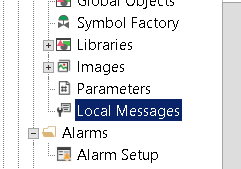
In the Explorer Tree, we’ll go to “Local Messages”.
At this point, we’ll configure the messages we want to appear for each value the processor moves into a tag.
I’m going to configure the following messages for example.

We’ll close the Message setup, and save the file as “Pumps”.
Add the Local Message Object
At this point, we are going to add the local message object to a display.
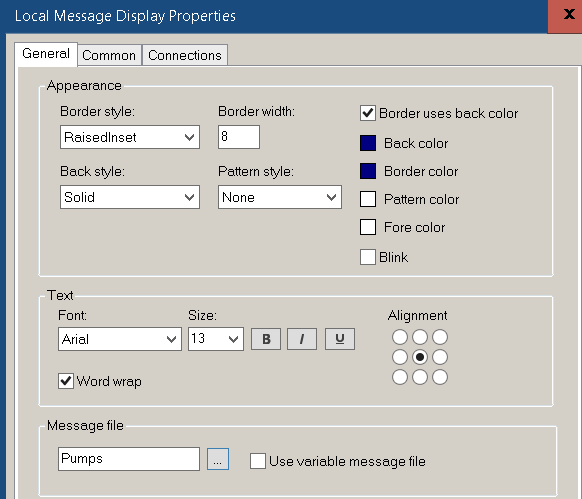
Go to Objects | Advanced | Local Message Display. You’ll want to draw this object so it’s long enough to display any of your messages.
On the “General” tab, be sure to choose the Local Message file that we created.
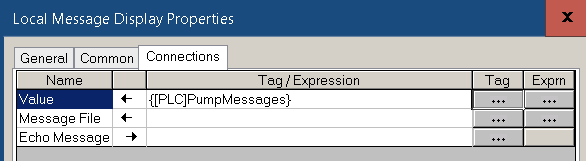
Next, go to “Connections”.
Under “Value”, browse for the tag we created earlier called “PumpMessage”. Keep in mind that you might have to refresh all folders to find this tag. Since the tag has no sub-elements, click the word “Online” in the tag browser to find the tag.
Test Your Work
Finally, we are ready to make sure our messages appear as we expect. In this case, we just need to test the display. We do not need to test the full application to see this work. Local Messages are not a service that runs in the background. They run on the display we have open.
At this point, in Studio 5000, place the value of 100 into the PumpMessage tag. We will see the corresponding message.
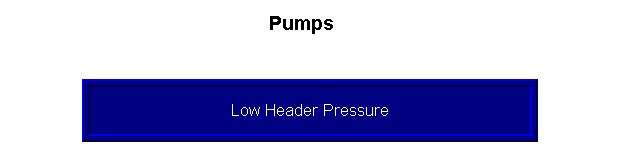
Likewise, the value of 102 gives us a different message.

Summary of FactoryTalk View Local Messages
In short, local messages appear on the display they reside on. Simply configure a message for each value of a tag. Your logic writes to this tag to control the value. Add the Local Message Object to a display. Tell this object which message file to look at, and what tag in the processor to point to. After that, test your work!
For more animations, and other information, visit the FactoryTalk View ME, or FactoryTalk View SE Category pages!
— Ricky Bryce