
Introduction to the PAL-1 6502 Computer
The PAL-1 6502 Computer is a clone of the KIM-1 Computer. In fact, most programs that will run on the KIM-1 will run on the PAL-1. I recently purchased this kit from Tindie. You can find the manuals here. This kit takes a day or two to put everything together, depending on your patience and experience. If you purchase the expansion modules, just be sure you pay attention to how you put the headers on. Fortunately, I only made one solder connection, and realized that I had the header on the wrong way.
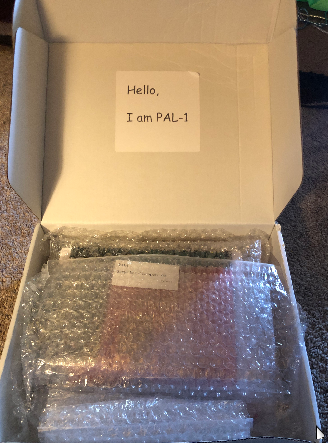
They packaged the unit very nicely. You will need to use your own 7.5VDC 1A Power Supply though. I found some on Ebay for around $5 each. You can find the exact specifications in the PAL-1 Manual.
Assembly of the PAL-1 6502 Computer
As I said before, it takes about a day or two, but I just followed the standard rule for these kits. I just added the shortest components first. The solder flowed very nicely onto the pads. Keep in mind that you have quite a few solder connections to make. You will want a nice soldering station, so you aren’t fighting every connection.
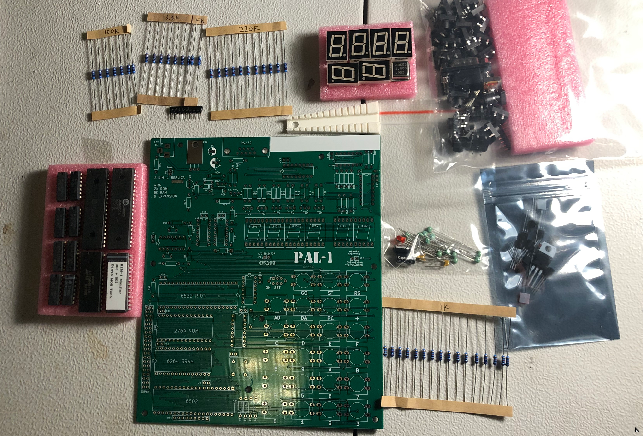
Keep in mind, the front side of the board is visible. You will want to be sure all resistors of similar value are the same direction for a nice appearance. Also, if you can print out a resistor bending tool, then your resistors will have similar bends. This will give you a nice professional appearance. Additionally, be sure all of the transistors are the same height, and the capacitors are straight before soldering. It’s practically impossible to get everything exactly perfect by hand, but even so, the kit has a very nice appearance. Obviously, before you power up the PAL-1, be sure that no lead trimming is left on the board. Check for bridged or missed solder connections as well. I used alcohol to remove any flux left on the board. Even if you use a no-clean flux, the board just looks nicer if you clean it up. Additionally, from my experience, your connections might look white after a few months and appear to be corroded if you leave the flux behind.
If you wish to print a case, you can download one from Thingiverse. I have not tried this yet, but I’ve heard that others have had great results.
Using the PAL-1 6502 Computer
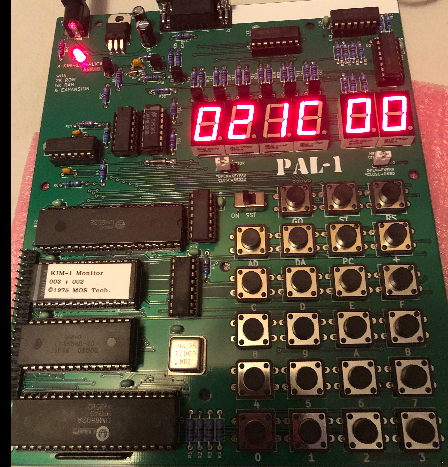
Previously, I’ve tried the KIM Uno kit, and the buttons are just standard tactile PCB buttons. However on the PAL-1, the large buttons have a nice feel. The display is also larger than the KIM Uno, and are easy to read. You have a jumper to select between Keypad Mode or TTY mode for a terminal emulator. Just be sure you are using a STRAIGHT serial cable (Not Null Modem!). The default settings are 1200/8/N/1. Hit ENTER on your terminal, and you should see the KIM prompt.
If you prefer a stand-alone terminal emulator you can put together Geoff Graham’s VT100 Terminal. You can select a kit for a PS2 Keyboard. Additionally, you can select a kit that is set up for composite video or VGA. I purchased one from Ebay that seems to work very well.
A good resource for learning more about the KIM-1 is the First Book of Kim. Additionally, you can check out my KIM-1 Category page to learn more about programming, and try out some simple projects to run on your unit.
Summary
This kit, as with any other will take a little time to put together. In short, be patient, and don’t rush. If it takes you longer than everyone else to assemble, it doesn’t mean that you are slow. It just means that you are being more careful. You’re not on the clock, so take your time. When you are finished, the result is a rewarding computer that you assembled yourself!
— Ricky Bryce