
Introduction to getting started with PlantPAx 4
When we are getting started with PlantPAx 4. we will need to import pieces of the PlantPAx library into our project. Generally, we’ll import the add-on instructions into the Studio 5000 project. Equally important, we will need to import certain components into the HMI project. Another key point is that we will need to set up PlantPAx groups and users.
Import the Add-On instructions
At this time, we will import some basic instructions from the PlantPAx Process Library. Download this for free at RockwellAutomation.com. In this case, I’m assuming the library has already been downloaded.
Within Studio 5000, right click the Add-On Instructions folder to import some basic instructions. In this case, I’ll only import some basic instructions to get started. These instructions are P_CmdSrc, P_Alarm, and P_Gate.

Browse for the Add-On instruction folder. I’m displaying the path below.
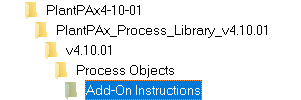
When Getting Started with PlantPAx 4.1, the first instruction to import is P_CmdSrc. Repeat this procedure for each of the basic add-on instructions.
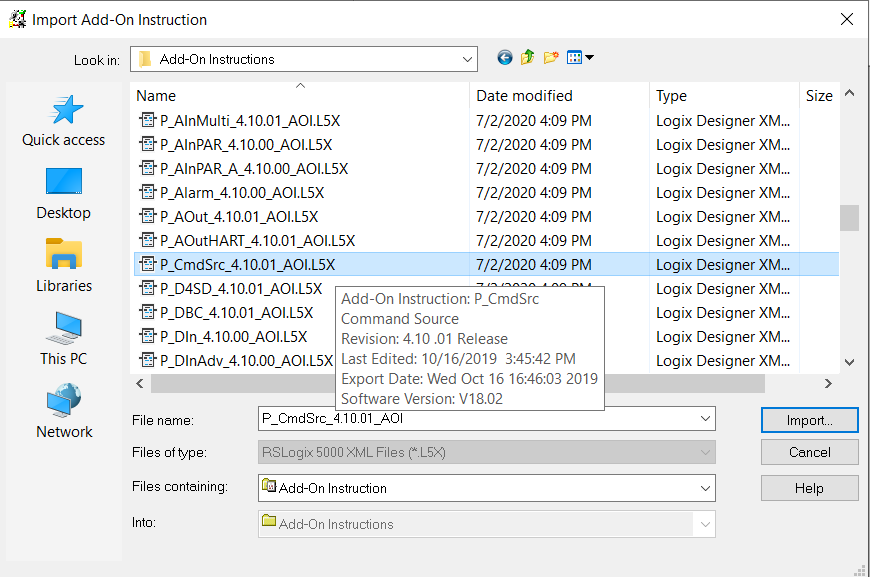
When importing the instructions, I’m leaving the default settings.
Import Images into the HMI Project
For this example, I am using FactoryTalk View SE (Site Edition). Once you have created the project, and added the HMI, Communication server, and Alarm and Events server you will import the images we need.
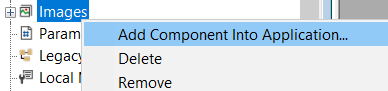
At this point, right click “Images” in the explorer tree, and import the images.
Choose the path shown below. Change the file type to “.png”. Highlight one of the images, then press CTRL-A to select all of the images. Finally, press OK to import the images. This step will take some time.
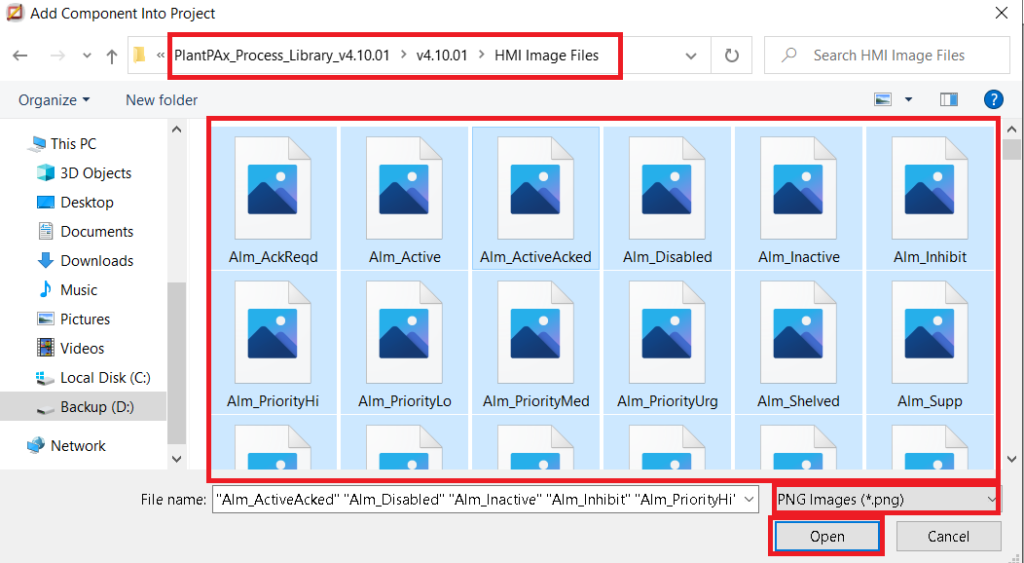
I clicked “Yes to All” to overwrite existing images.
Importing the Global Object Files
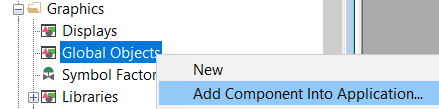
Our next step is to import the global object files. Since these are not displays, we’ll import all of them. This will make adding other objects easier for us later on. To do this, right click “Gobal Objects” under “Displays”. Choose “Add component into application”.
Browse to the Global Objects folder. Highlight one of the Global objects, then press Control-A to select all. Press “Open” to import the global objects.
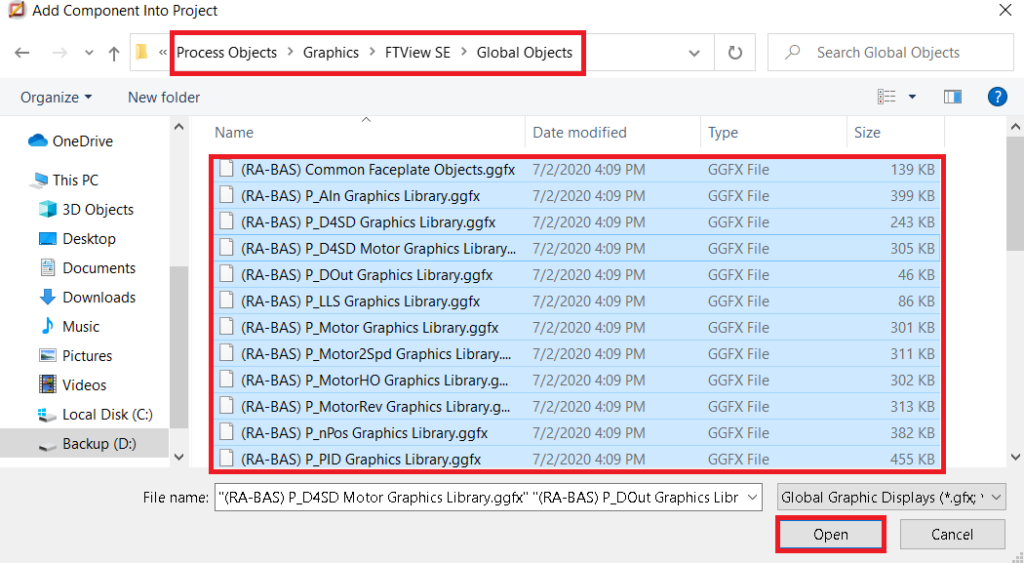
Obviously, this will take a minute or two for the import operation to finish.
Import the HMI Displays
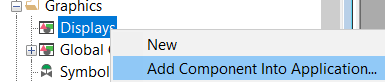
Our next step is to import the HMI Faceplates (displays). To do this, right click “Displays” under “Graphics”. Then, add component into application.
At this point, we’ll select the displays we wish to use in our project. Because you probably have a license based on the number of displays, we will only import the displays we intend to use.
I’m adding the following objects:
- Common Advanced
- P_Alarm Advanced
- P_Alarm Faceplate
- P_CmdSrc Advanced
- P_CmdSrc Faceplate
- P_Gate
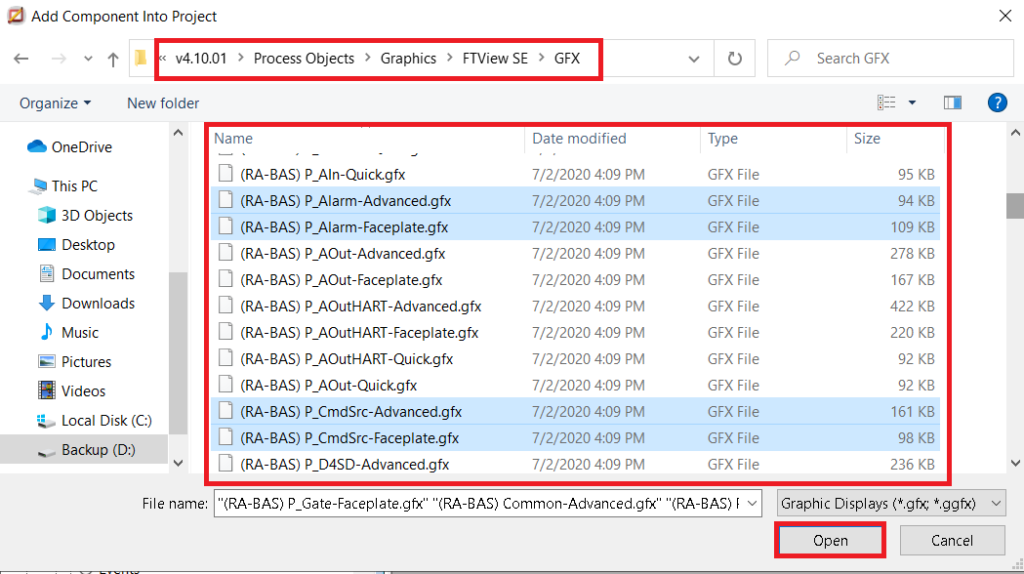
These are just some basic common objects that we will use later on. As we utilize other features, we will add the supporting displays. Be sure to browse for the GFX folder. A common mistake is to stay in the Global Objects folder, since the file extension is very similar. Hold CTRL while selecting the displays you need, then press “OPEN”.
Import the Macros
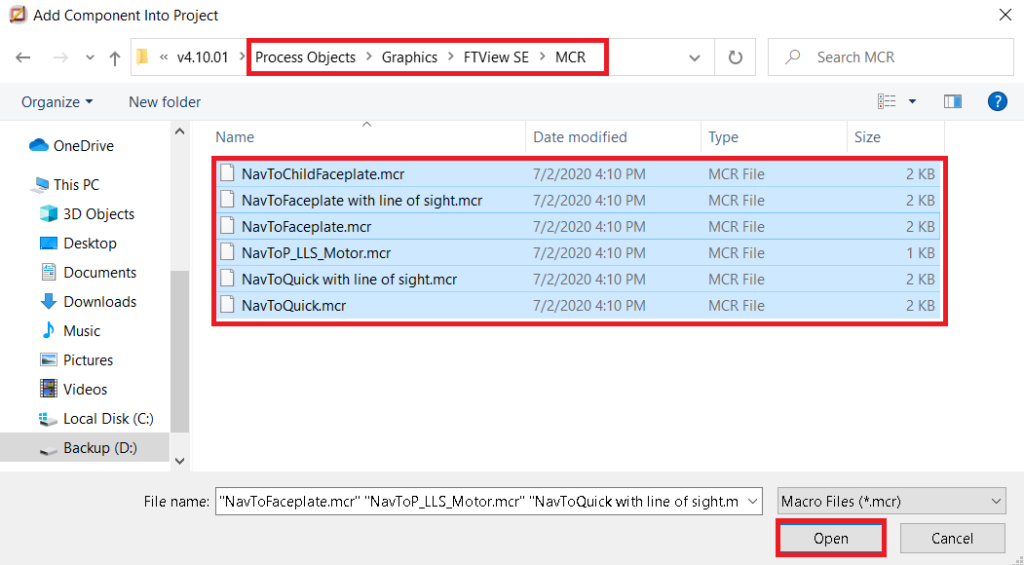
There are several Macros that allow a project to work. We will import these by right-clicking “Macros” under “Logic and Control”. Add Component into application.

The Macros are located in the MCR folder in the path shown. Be sure to select all macros, the press “Open”.
Import the HMI Tags
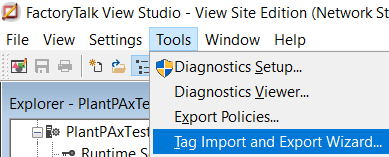
There are several tags our application will need in order to function properly. On the positive side, these tags have already been created, and are included as part of the PlantPAx library. We will use the Tag Import and Export tool. This is under “Tools” on the menu bar of FactoryTalk View.
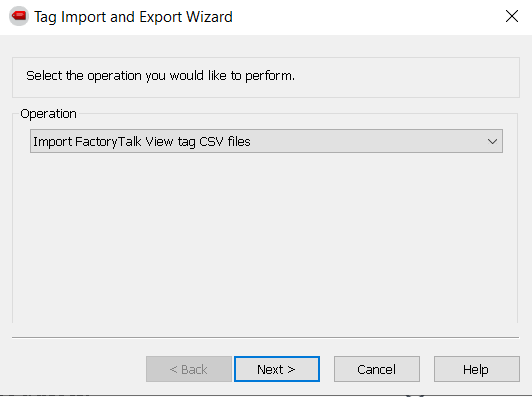
Import the FactoryTalk View CSV Tags as shown, then click “Next”.
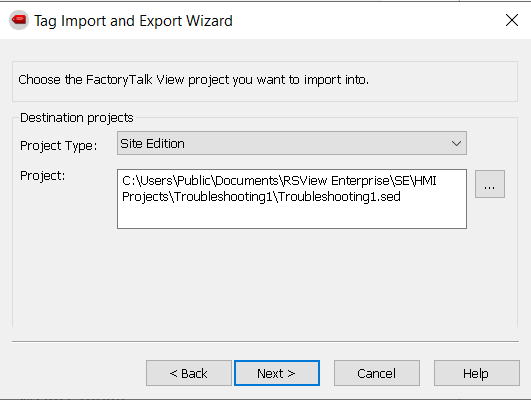
Choose your project type, and project name.
Next, select the tags you wish to import. This is under the Process Objects folder, under Graphics.
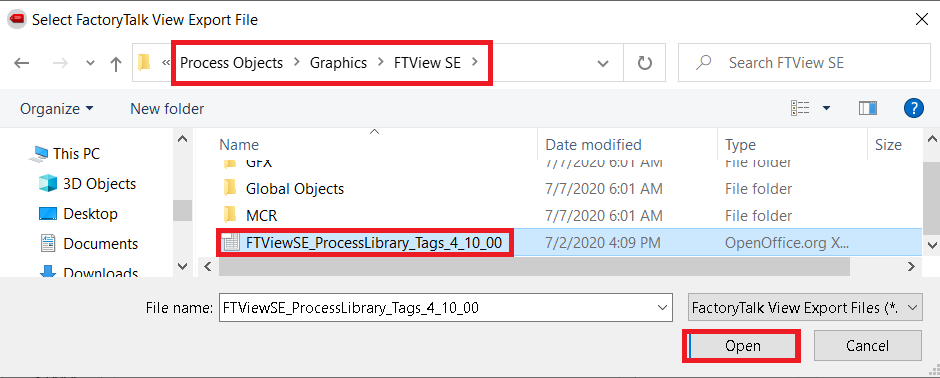
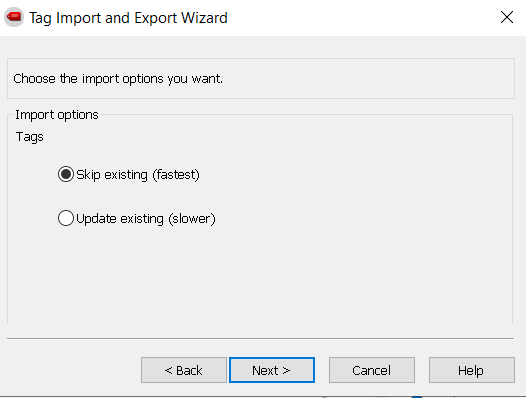
Choose to skip the existing tags. Press “Next”, then “Finish”.
Help File Location
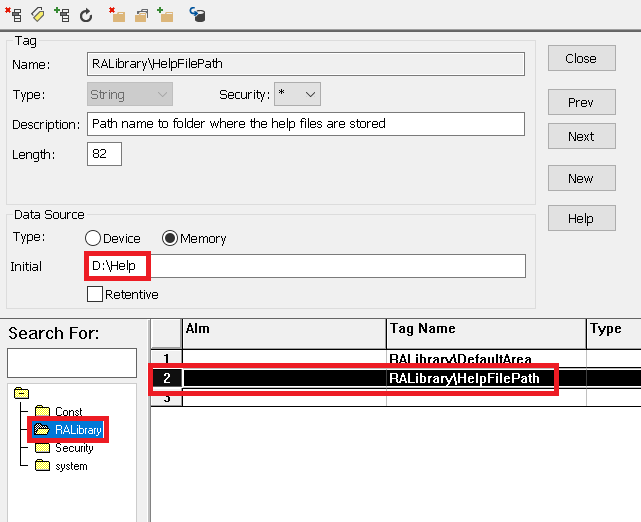
Next, we’ll configure the Help File location. Within the process Library, you will find an “HMI Help Files” folder. In my case, I copied this to D:\Help, so it will be easy to get to. This help file tells the operator what various symbols mean on an HMI faceplate. To set this path, open the HMI Tags from the explorer tree.

Next, under the “RALibrary” Folder, choose the HelpFilePath tag. Set the value of the path to the location of your HMI Help Files. Be sure to press “Accept” before closing this dialog window.
Set up the HMI Groups and users (Security)
In order for PlantPAx to work properly, we need to set up users and user groups. If the security is not configured properly, many faceplate objects will be “Greyed Out”. This is a good indication that your security is not configured properly, or that you are not logged in as a user that has access to those options.
Add the user groups
At the bottom of the explorer tree, you will fund “Users and Groups” under “System”. Right click “User Groups” to add the following users.

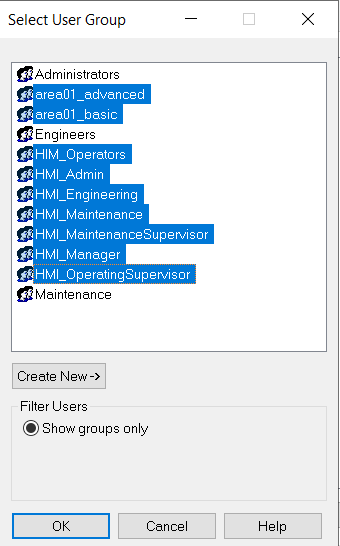
I’m going to add the users that are recommended by Rockwell.
- HMI_Operators
- HMI_OperatingSupervisor
- HMI_Maintenance
- HMI_MaintenanceSupervisor
- HMI_Engineering
- HMI_Manager
- HMI_Admin
- area01_basic
- area01_advanced
Configure Runtime Security
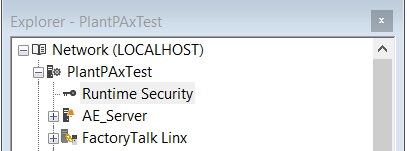
First, let’s open Runtime Security. You will find this at the top of your explorer tree.
Open “Security Accounts”. Give “All Users” access to security class “I”.
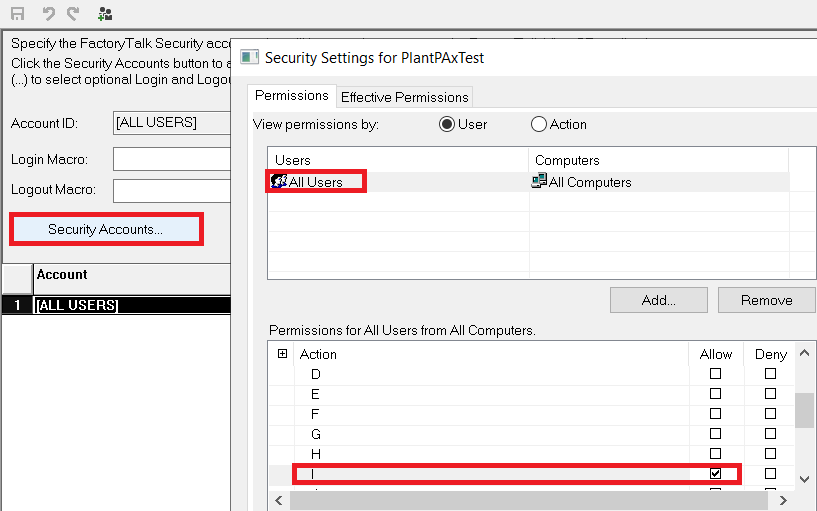
Click “Add” to add the other users with the following security classes:
- HMI_Operators — A
- HMI_OperatingSupervisor — B
- HMI_Maintenance — C
- HMI_MaintenanceSupervisor — D
- HMI_Engineering — E
- HMI_Manager — F
- HMI_Admin — G
Add Users and assign groups
At last, we will add our users, and assign the user to groups. Right click “Users” in the explorer tree under System, and create a new user. Be sure to name the user, and assign a password. Set up other options as well.
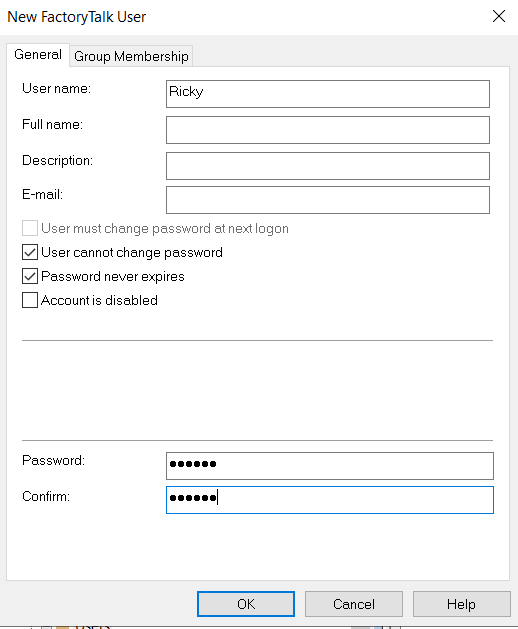
Next, click the “Group Membership” Tab. Hold down CTRL, and select the groups that you want this user to be part of.
Finally, press OK.
Add Computer Group
All things considered, when we are learning, restrictions make exploring our options very difficult. For some features of PlantPAx to work (Such as Line of Site), we will add a computer group.
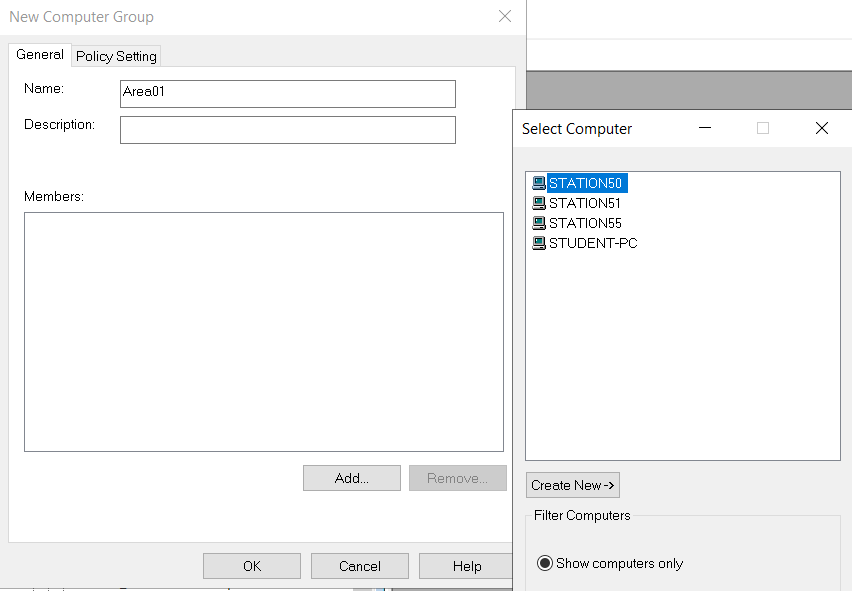
Right click “Computer Groups” in the explorer tree, and add a new computer group. In this case, we’ll call that “Area01”. Click the ADD button and select the other computers that you wish to have access. Be sure to press OK.
Summary
While Getting Started with PlantPAx 4.1, we created a new project in both Studio 5000, and FactoryTalk View. In Studio 5000, we just imported the add-on instructions that we needed. In FactoryTalk view, we imported graphics, tags, macros, and set up the security. All that is left to do is to utilize the add-on instructions in logic. Then add global objects to your display screens, set up communication in FactoryTalk Linx, and point them to a tag i the processor. Finally, you can create your client file (declaring a startup screen), and test your project! Be sure your project has a login button, so you will have access to all of the features of PlantPAx. Alternatively, you could create a startup macro to arrange your displays when the project is started.
For more information, visit the PlantPAx Category Page!
— Ricky Bryce
Pingback: PlantPAx 4.1 PID (P_PIDE) Setup and Tuning - Bryce Automation
Pingback: PlantPAx 4 Analog Outputs (P_AOut) - Bryce Automation