
How to Add Images to FactoryTalk View
To Add Images to FactoryTalk View, we simply add an image object, then browse for the image. Additionally, you can animate the images that you add. For example, let’s say you want to have a different background image for night time. We would simply use the visibility animation for this.
Obviously, to add images from the Library, you can simply drag them from the Library displays. In this example though, we’ll import an image. This can be a .BMP file, JPEG, PNG, or other types of images. If the image you want to import is not in a standard format, you can just convert the image before importing.
There are several reasons you might want to add an image. One option is to take a picture of your actual equipment. Then you can overlay different valves, etc from the graphics library. This gives the operator a more graphic representation of the value he is looking at.
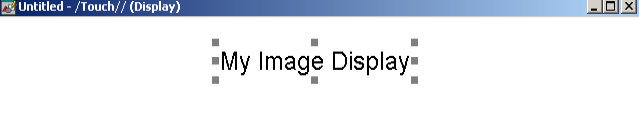
Create a Display
First, we’ll need to have a display that we add an image to. To create a display, just right click “Displays”, and select “New”. In this case, I’ll add some text to the display as well. If you are adding the image to an existing display, then there is no need to create a new one. Be aware that you may be limited by your license on the amount of displays you can add. Exceeding this limit could break your project.
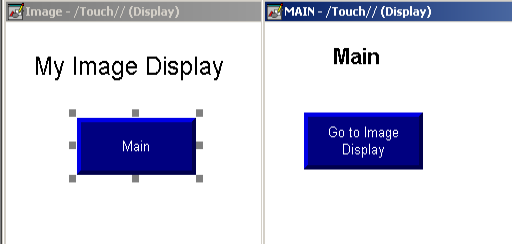
Close the display, and save your work. In this case, I’ll just name the display “Image”.
Set up Navigation
It’s important to realize that the operator needs to have a way to get to this new display. Therefore, we need to add a navigation button to another screen. Additionally, we need to add a navigation button to the display we are creating. This allows the operator to get back to where he came from. In FactoryTalk View SE, you might just add a command button. The command will be “Display Main”. Where Main is the name of the display that we wish to navigate too.
On the other hand if you use FactoryTalk View ME, then this will be a “GOTO” button, which is under Objects | Display Navigation.
Add Your Image
At last, we are ready to add an image onto our display. Go to Objects | Drawing | Image. Draw the object on your display. You will see a pop up window with several options.
We’ll choose “Add From File”.
Browse for your image.
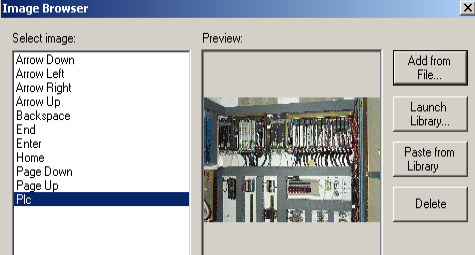
Press OK.
Next, you may need to resize the image on your display.
Just grab the “handles” on one of the 4 corners to resize the image.
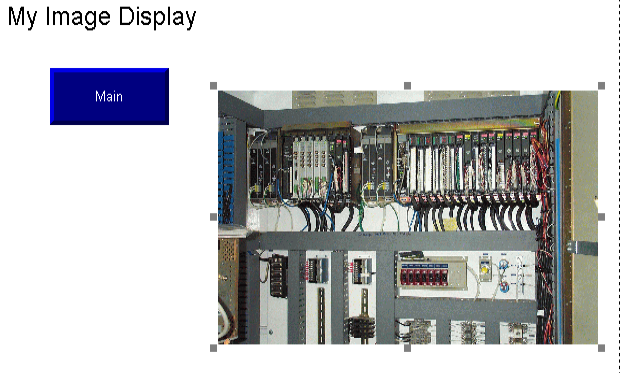
At this point, you can add other graphic objects on top of the image, such as indicator lights, valves, motors, etc, and animate your graphics.
Converting To Wallpaper
Another option you have is to convert the image to wallpaper. This makes the object static. It’s a little easier to add objects on top of a wallpaper image. You don’t have to worry so much about a misaligned image as you add other objects over the top of it. To convert the image to wallpaper, just right click the object. You have the option to convert it to wallpaper.
Summary
To summarize, just make sure you have a place to put your image. After that, just go to Objects | Drawing | Images to add your picture. If your image is not in a format that FactoryTalk view understands, just convert the image before you import it. Even MS Paint will convert many types of images from one format to another.
Adding images of real equipment will clarify operating conditions. Additionally, you are creating a display with a nice, professional appearance.
Be sure to check out this link for other FactoryTalk View posts!
— Ricky Bryce