
Introduction to DeviceNet Hardware
In this post, I’ll discuss an example of common DeviceNet Hardware. DeviceNet is a networking protocol which will carry 24v along with the network cable. Therefore, this eliminates the hassle, in most cases, of running a separate 24v line to each device.
A DeviceNet system typically contains a network scanner, power supply, taps, terminators and nodes. Additionally, there are several different types of cables to choose from.
For the complete specifications, look at the DeviceNet Media guide.
Devicenet Scanner
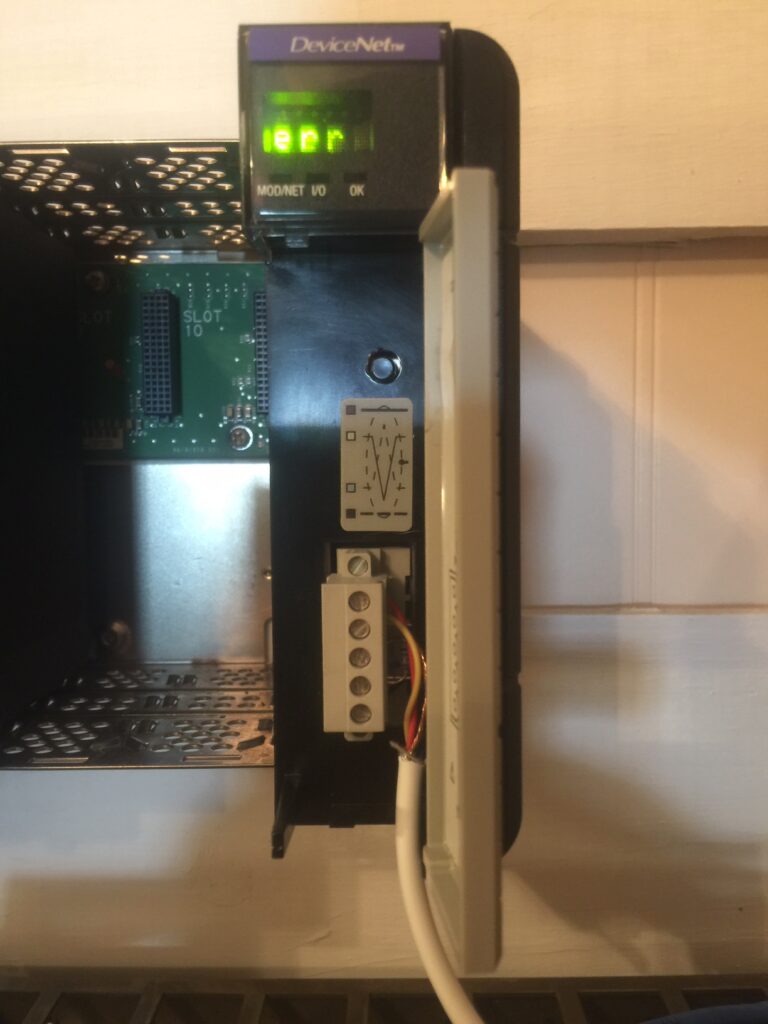
The DeviceNet Scanner is the master on the DeviceNet network. The module can scan up to 63 other devices. Furthermore, these devices show up on the input and output tables for the module’s controller tag. We use RSNetworx for DeviceNet to map the field devices to a memory location on the DeviceNet scanner. To initially set up the scanner, we use the configuration button on the face of the scanner. With no network power (cable unplugged), hold down the configuration button to set the baud rate. Acceptable baud rates are 125k, 250, and 512k. Use the media guide to determine which baud rate will work best in your application. Likewise, when power is applied, hold down the configuration button to set the Node Address.
DeviceNet Tap

Obviously, we need to be able to drop down to the nodes of our network. When you use a trunkline/dropline configuration, use the tap to connect the nodes. Typically, there are three types of cable systems: Thick Cable, Thin Cable, and Flat Cable (KwikLink).
Terminators
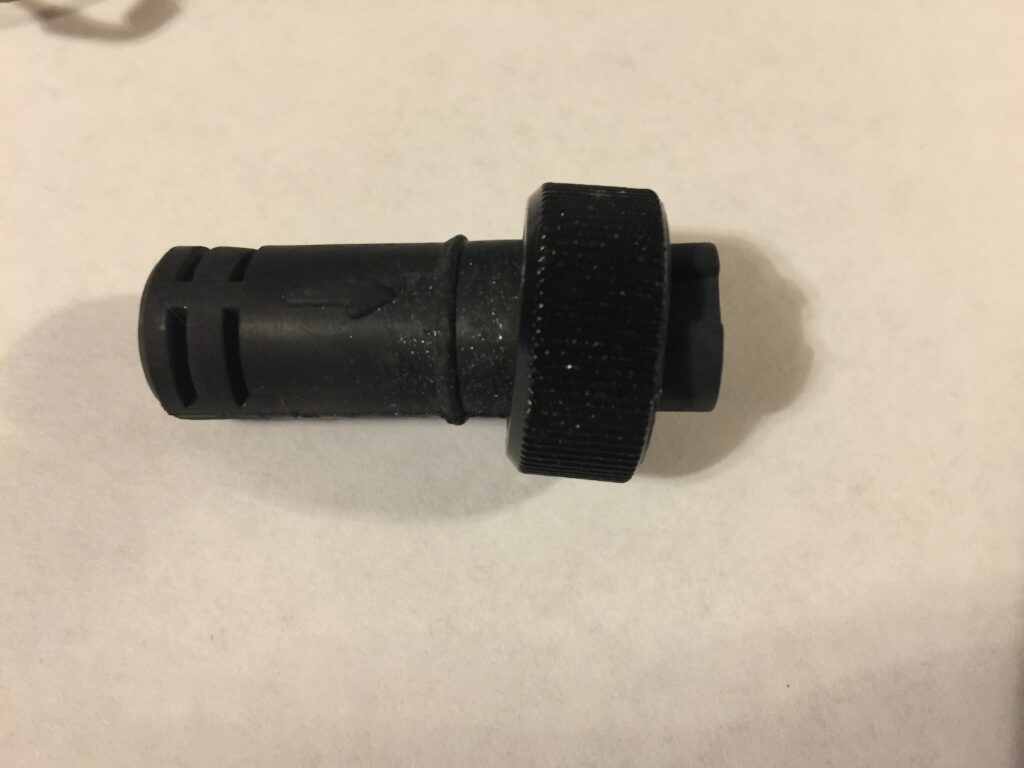
At both ends of the network, apply a 121 ohm terminator. In this case, the terminator plugs into the end taps. If you are using open connectors, apply a 121 ohm resistor across the blue and white conductors. This keeps the network impedance where it needs to be, and minimizes “reflections” on the network.
Nodes
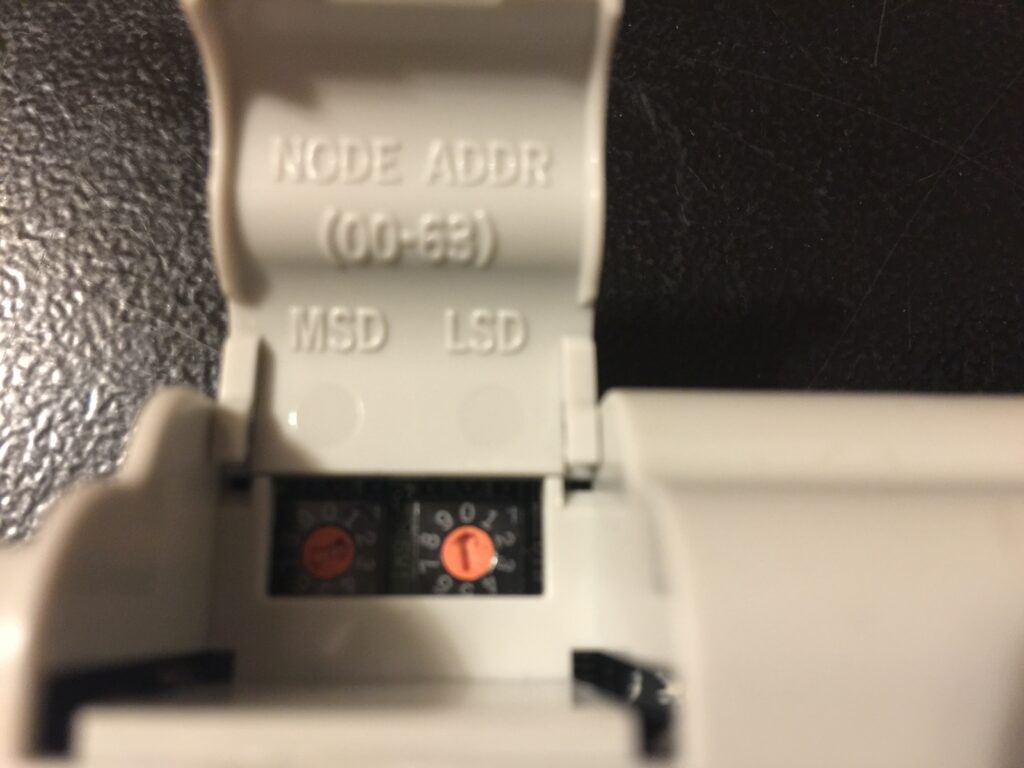
Be sure to assign a unique node number (0-63) to each node on the network. These devices may have dip switches or dials. Conversely, if there is no physical way to set the node address, you will use the Node Commissioning tool. Through the DeviceNet node commissioning tool, you will set the node address, and baud rate.
Power Supply
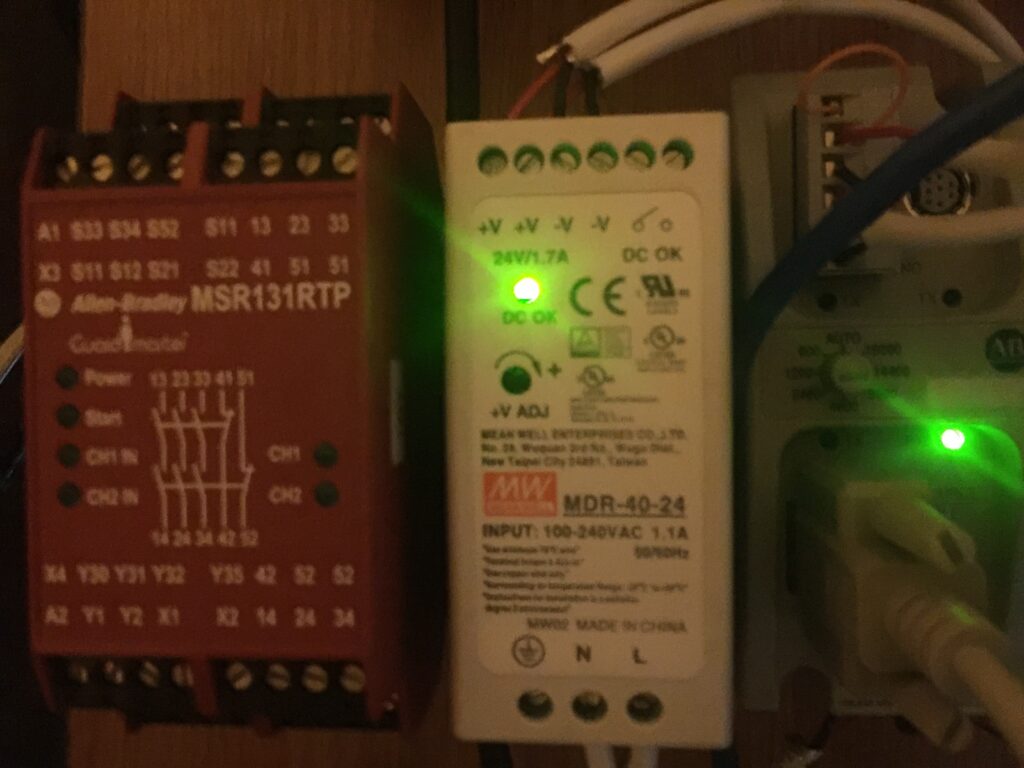
The DeviceNet network is capable of supplying 4 amps to the network. Connect the power to the red (+) and black (-) conductors. Generally, you will use an 8 amp power supply near the largest load toward the center of the network Concurrently, 4 amps will flow to each side of the network. Generally, you will not want to exceed a 4.65 volt drop between the power supply, and any node on the network. Use Ohms law to determine this voltage drop by taking into account the resistance of the cable, each tap, as well as the current consumption of each load. Additionally, you can add other power supplies to the network to minimize the voltage drops. If you are using closed network connectors (as shown above), use a power tap to inject power into the network.
As I have noted, after you have the network set up, use RSNetworx for DeviceNet. This allows you to map the nodes on the network into a memory location on the scanner. I demonstrate this in another post.
For more information on ControlLogix, visit the ControlLogix Category Page.
— Ricky Bryce
Pingback: RSNetworx For DeviceNet - Mapping Devices - Bryce Automation