
Introduction to ControlLogix/NodeRed Data Log
To set up the ControlLogix/NodeRed Data Log, you must first install Node-Red. Node Red is a free, open source service that allows you to integrate connections from different types of automation devices. There are many documented procedures and youtube videos on this. Node Red is a web based tool to allow you to set up interactions between your devices. In this case, you will not need any proprietary software. As long as you know the tag names you wish to log, we can easily set that up in Node-Red
Step 1) Setup the Ethernet/IP Node
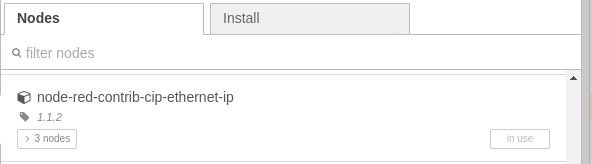
Go to “Manage Palett”, and install the contrib-cip-ethernet-ip Node.
At this time, add the Eth-IP In node to your flow, and double click the node to enter it’s configuration.
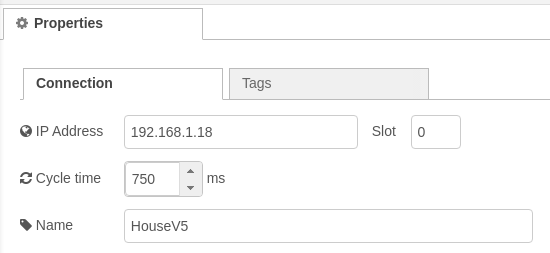
Click the pencil to add a PLC if you have not already. Be sure to set up the IP address and processor slot #.
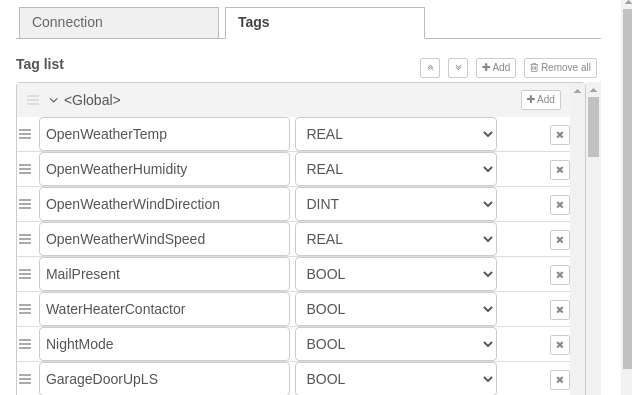
Go to “Tags”, and add any tag that you wish to use in your flow. As you can see, these tags can be either global or program tags. Be sure to select a datatype that matches your tag in the processor.
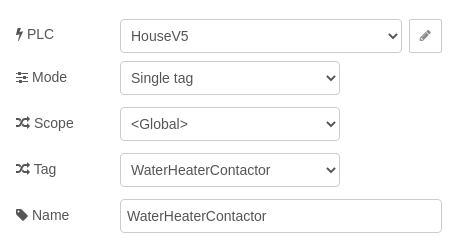
After you have updated the tags and processor, be sure to select the tag that you wish to log.
Step 2) Add a FILE node
At this point, add a file node, and tie that to your Ethernet-IP node.

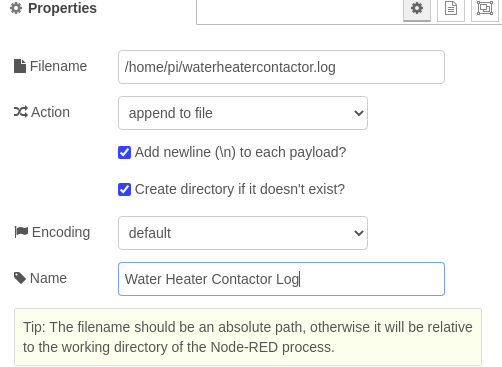
Obviously, we will go into the FILE node, and set up the path you wish to log to. Keep in mind the path is relative to Node Red. In this example, I will set up an absolute path to log data to on the Node-Red server.
Step 3) Deploy the project for your ControlLogix/NodeRed Data Log
Finally, deploy your project. Do this by clicking the Deploy button in the top right corner of your node-red interface.

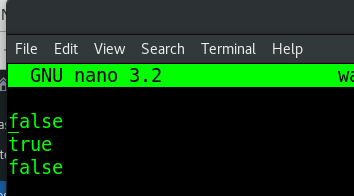
At last, I will go tot he Node-Red computer, and when I list the pi’s home directory, I can see that a log file is created. After a few transitions of the bit, you should have some data logged to the file. I’ll use nano to check the contents of this file.
Add a TimeStamp
As you can see, we don’t know what time the transition took place. For this reason, we will add a time stamp. To Illustrate, I’ll use a function node for this between the eth-ip node and the file node.
In this case, I’ll add the following code to a function node:

At last, when we tie everything together, the final result will appear similar to this:

As you can see, we are now logging the data along with a time stamp.

For more information, visit the node-red category page!
— Ricky Bryce