
Introduction to the DS1307 Real Time Clock
The DS1307 Real Time Clock keeps track of time. Once you set the clock, a battery will back up the time. In other words, you don’t need to reset the clock every time you power up your device. In addition to keeping track of time, the DS1307 has other features. This includes a square wave output, and non-volatile Storage.
In this section, we’ll discuss how to connect a DS1307 to your Arduino, install the libraries, and verify the clock is working.
Make Your Connections
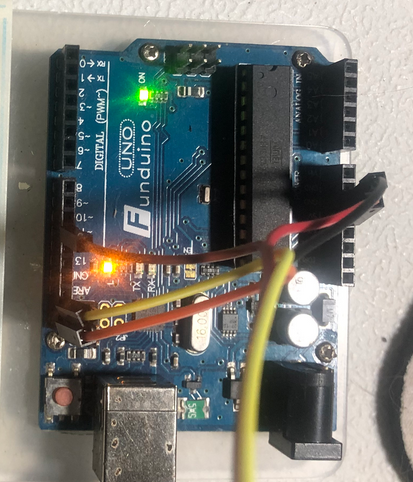
Before we begin, we need to connect our DS1307 module to the Arduino. The connection is straight forward. We’ll be using the I2C protocol to interface with our DS1307. Basically, we just need to connect power, and the SDA/SCL Lines.
Arduino DS1307
5v ————— VCC
GND ———— GND
SDA ————- SDA
SCL ————– SDL
Install the Library
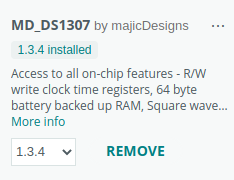
To test the DS1307, I’ll use the MD_DS1307 Library. This library includes an example that allows you to set the clock, configure a square wave output, and read the clock. I’m using IDE 2.1.0, so we’ll just go to Tools | Manage Libraries, and search for DS1307. You will see that there are several libraries available. For this purpose, though, we’ll just install the MD_1307 library.
Open the Example File, and Upload
At this point, we are ready to open an example file that we can upload to the Arduino Uno. Go to File | Examples, and we’ll find the MD_DS1307_Test sketch. Next, be sure you have the proper board set up. Go to Tools | Boards. In this case, I’m using the Arduino UNO. Go to Tools | Ports, and be sure you choose the correct serial port. If you are unsure of the serial port, and are using Windows, you can find this in Device Manager under PORTS (COM and LPT).
Upload your file to the UNO.
Using the Serial Monitor
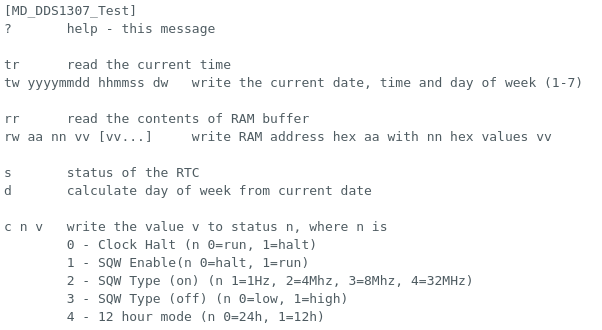
This particular sketch has a menu, which allows you to easily access the features of the DS1307. Go to Tools | Serial Monitor, and set the baud rate to 57600. Press “Reset” on the UNO.
The menu should appear in your serial monitor.
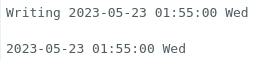
To set the clock, I’m going to type “tw 20230523 015300 04” This will set the clock to May 5, 2023 at 1:53 am. It’s Wednesday, so the day of the week will be “04”. The clock is not currently running. For this reason, set your clock a few minutes into the future.
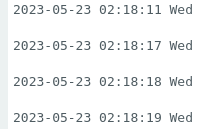
Now type “tr”, and you will see the system time.
Once the current time reaches the time you wrote to the DS1307, we need to run the clock. Keep in mind, the clock is currently in the HALT state. We need to issue the following command to run the clock: c 0 0 (with spaces between characters) The menu explains what this means. Basically, C means we want to run a clock command. 0 is the clock command we wish to run (0-4). n is the value that we want this command to use.
To test your clock again, type “tr” a few times. You should see the clock is changing now. In my case, I had to cycle power first.
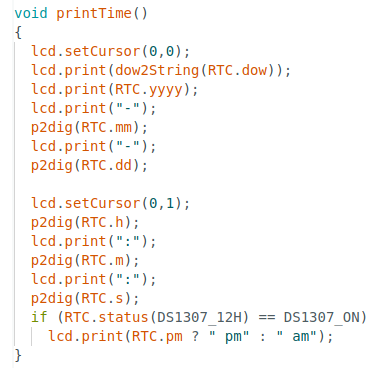
If you look at the example: MD_DS1307_LCD_Time, you will see some of the commands that you can use in your own code to access the system time:
Summary of the DS1307 Real Time Clock
In summary, the DS1307 is easy to get up and running. Simply connect your unit, and upload the sketch. At this point, set the clock, and take the unit out of it’s halt state. After that, you should be able to access the system time. Once you are sure your unit is working, you can check out some of the other libraries such as uRTCLib, and uEEPROMLib if you wish to store data to EEPROM.
For other similar information, check out the Arduino Beginner category page!
— Ricky Bryce