
Introduction to Programming PAL-1 With RC2014
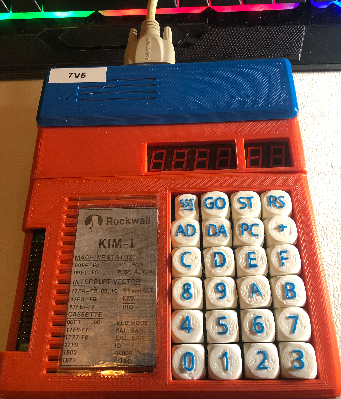
In this section, we’ll set up communication for Programming the PAL-1 With an RC2014. Obviously, you can use a modern computer to program your PAL-1, or even it’s keypad. However, programming a vintage computer with another vintage processor gives you more of a vintage feel. The PAL-1 is a clone of the popular KIM-1 computer. From time to time, you can find the PAL-1 on Tindie. I printed out a case for it (in sections) on my Ender-3 printer.
The PAL-1 uses RS232 at 1200 baud. Therefore, we’ll have a few challenges in making this work. First, the dual serial module only supplies you with TTL communication. Secondly, the RC2014’s dual clock module will only get us down to 4800 baud. We’ll have to put together a couple of modules to make this work.
You can read about building the RS232 module on this post. Basically, I’m just taking a standard RS232 module from Ebay, and modifying it so it will actually work. Another option is to set up a TTL to MAX232 converter on your own. There are plenty of different designs available. I’m not using flow control in any of these examples. If you use a MAX232 though, keep a close eye on it. From my experience, they tend to get hot and latch up. It appears that others have had the same issue. My main fix was to install a 1uF capacitor between the incoming power and ground along with a 22 Ohm resistor in series with VCC.
Likewise, you can read about reducing Serial B’s clock speed with this post.
Making your Connections
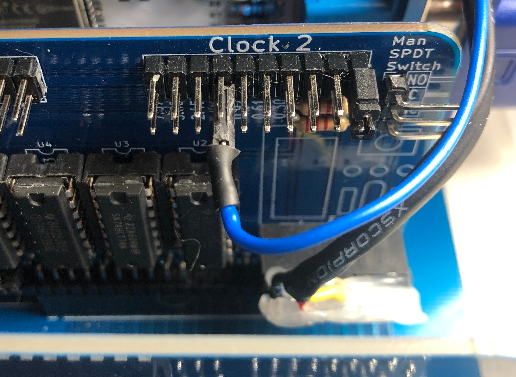
In my example for lowering the baud rate, we’ll need to place Clock 2’s jumper to External. With the Divide by 16 Module, we’ll need to get our clock signal from 1.2288 pin. In my example, this is the blue wire. Remember, the actual signal for 1.2288 MHz is on the bottom row of the dual row pin header. Basically the clock divider is just a binary ripple counter. I used the 74HCT393 for this.
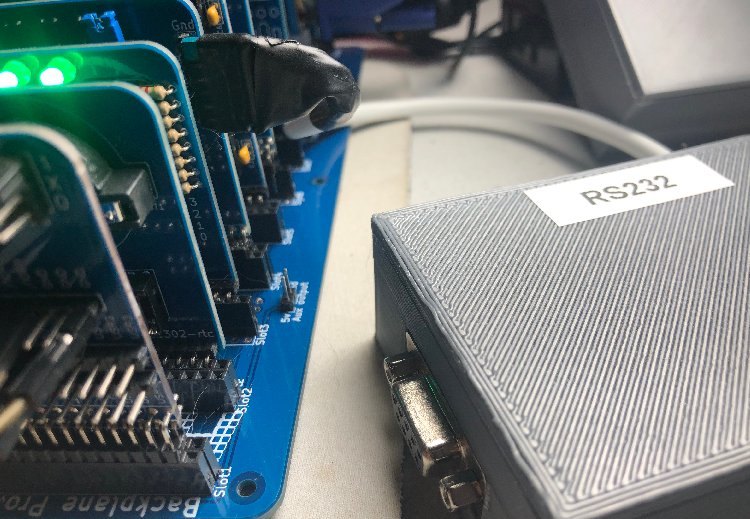
We’ll connect our RS232 Module to Serial B. Be careful to connect this properly. Ground is on the top pin. Also, we need to supply 5v to this RS232 Module, so the power jumper is ON for Serial B. I just used some green paint on the connector to Serial B to indicate which end of the plug is ground.
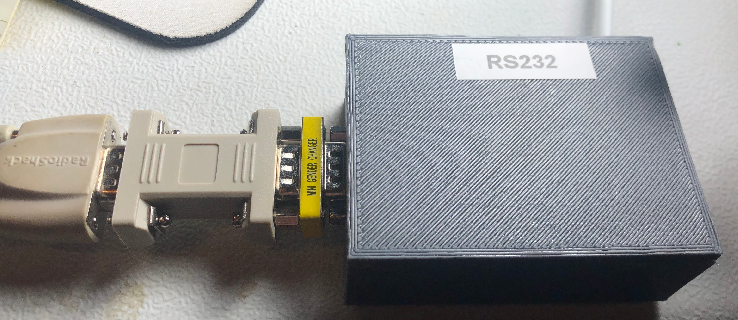
We’ll need to place a NULL MODEM cable between our home made RS232 Module, and the PAL-1. You’ll likely need some gender changes to make this connection. If you don’t have a null modem cable, you can simply use a Null Modem adapter with a standard RS232 Cable. Basically, a Null Modem cable swaps the transmit and receive.
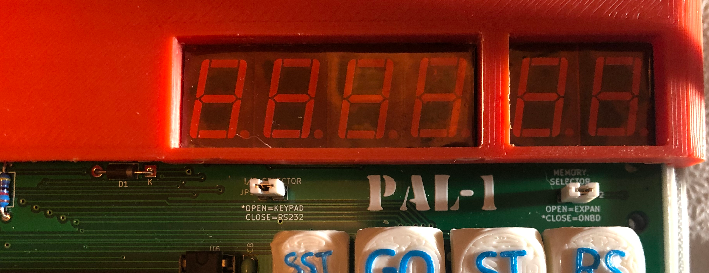
Configuring the PAL-1
There is really not a lot of configuration for the PAL-1 itself. Just make sure your jumpers are set correctly. In this case, I’m running the PAL-1 with it’s own internal memory. Additionally, we need to set the jumper for RS232 instead of Keypad. In this case, both jumpers are in place.
Using QTERM for Programming PAL-1 With RC2014
QTERM is a very useful program for accessing serial devices. You can download QTERM at this link if you don’t already have it. In particular, I’m using ROMWBW on my RC2014, and downloaded the file “QTERMH1”. I simply launched the program, and pressed RESET on the PAL-1 Computer.
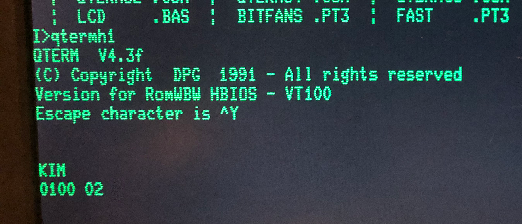
At this point, you are ready to program the PAL-1 Computer! You can start at 200 by pressing 0200 (then space). After each byte of code, press “.” to accept. Press “G” to go to Run Mode. Just be sure your CAPS lock is on. Remember, you will not see the address and data on the keypad with your jumper in RS232 Mode.
Summary of Programming PAL-1 With RC2014
In short, you just need a slower clock to run 1200 baud, and a way to convert your TTL to RS232. You also need a null modem cable for this particular setup. Run QTERM, and hit reset on the PAL-1. You should be in business!
For more information, visit the Vintage Computers Category page!
— Ricky Bryce